JLPT Study Planner with Hobonichi: Timeline and Layout Tips
How do you keep track of every vocabulary word, grammar point, and mock exam before the JLPT? I used my Hobonichi Weeks to bring structure to the process. Instead of juggling scattered notes and endless to-do lists, the planner became a study system that kept everything organized and measurable. By treating it as a JLPT study planner, I was able to map out a realistic timeline, design layouts tailored to different study needs, and track my progress all the way to exam day.
In this post, I will share how I set up my Hobonichi Weeks for JLPT preparation—from creating a long-term study timeline to breaking tasks into monthly and weekly goals. This approach not only helped me stay consistent and motivated but also left me with a meaningful record of my study journey that I still treasure today.
📚 Keep Reading in This Series →
- Best Hobonichi Weeks Layout Ideas for Your Needs
- Best Hobonichi Week Layouts for Study
- JLPT Study Planner with Hobonichi: Timeline and Layout Tips (reading now)
- Time Tracker for Hobonichi Weeks & A6 (Free Download)
- Free Mandala Chart Template for Your New Year Goals
Table of Contents
Creating a Study Timeline
The first step in turning my Hobonichi into a JLPT study planner was mapping out a big-picture timeline. I used the Notes section at the back of my Hobonichi Weeks for this purpose.
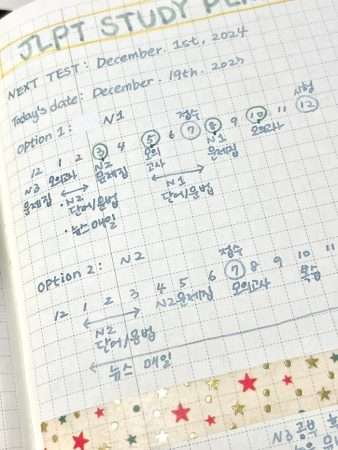
I began by writing down my official study start date, my target level, and rough estimates for how long each subject would take. If one textbook chapter typically required a week, I could project how many months were needed to complete a whole book. This gave me a realistic sense of time and helped me avoid overloading my schedule.
The timeline was not only about finishing textbooks but also about planning for repeated reviews. A JLPT study plan works best when you revisit materials multiple times. Completing a vocabulary book once did not mean I was finished—it simply marked the beginning of the review cycle.
At the same time, not everything I studied appeared in the timeline. Daily habits like listening to Japanese news or practicing kanji were important for immersion, but I kept them outside the timeline because they were open-ended activities rather than tasks with clear start and finish points. The timeline focused on structured study milestones—textbooks, drills, and mock exams—while these ongoing habits supported my learning in the background.
One of the biggest lessons came after I passed N3. By then I had a better sense of my personal study speed. This made planning for N2 and N1 smoother, because I could estimate how quickly I could progress through a book or complete a review cycle. Of course, I left extra buffer weeks in case of burnout or unexpected breaks, so the plan was both structured and flexible.
Notes Section: Checklists and Study Logs
Checklists for Each Subject
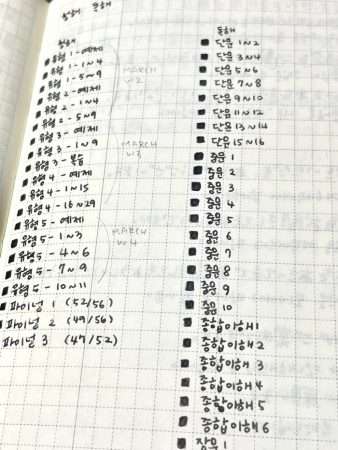
I created subject-specific checklists in the Notes section. For example, I listed every chapter from my listening workbook and added a checkbox next to each. Marking them off one by one gave me motivation and made the long journey feel manageable.
Level-by-Level Study Records
I also kept a running log of my progress for each JLPT level. For N3 and N2, I didn’t take the official exams because the dates didn’t fit my schedule, but I treated the completion of textbooks and mock exams as my own finish line. I wrote down when I started and finished a vocabulary book, how many review rounds I completed, when I worked through a grammar workbook, and the scores I achieved on practice tests. Reviewing these logs later also helped me plan for the next level, since I could estimate how much time certain tasks would take and where I needed to adjust my focus.
For N1, I added the official exam itself to the log, which gave this section a sense of closure. Looking back, these records reminded me that even without a test date for every level, I had still worked steadily and deserved to celebrate the milestones along the way.
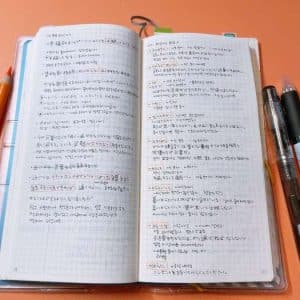
Grammar, Kanji, and Mistakes Log
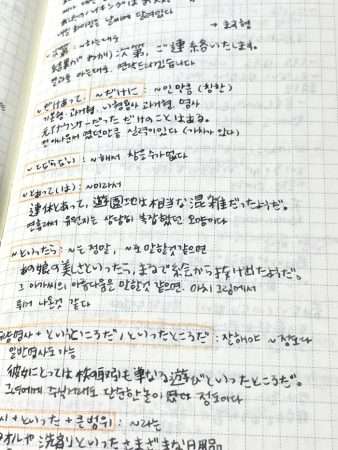
This section also became a place to write grammar points that confused me, kanji I needed to master, and common mistakes. I always included an example sentence so I could revisit these notes right up until test day. Some of these entries proved especially valuable: for example, one grammar pattern I struggled with during N2 reappeared on the N1 exam. I even missed it again on practice questions, which forced me to focus on it repeatedly until the very last review sessions. Thanks to that extra effort, I was able to handle it well on the real test and ultimately achieve a good result (see my test results post).
Because the Hobonichi Weeks is compact, I could bring it with me to the exam hall and quickly review these pages. Having everything in one place made last-minute studying far more effective.
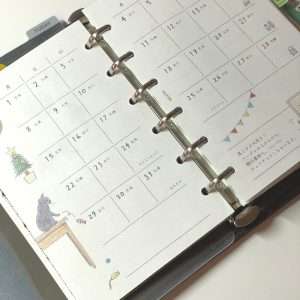
Monthly Pages: Big Picture and Reviews
Tracking Milestones and Events
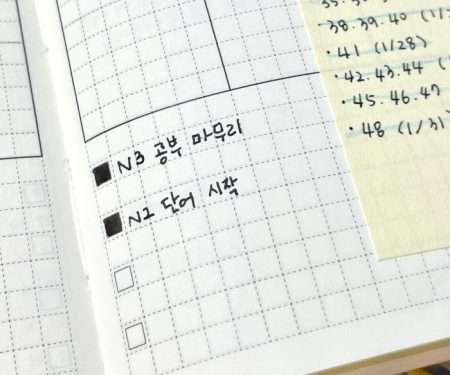
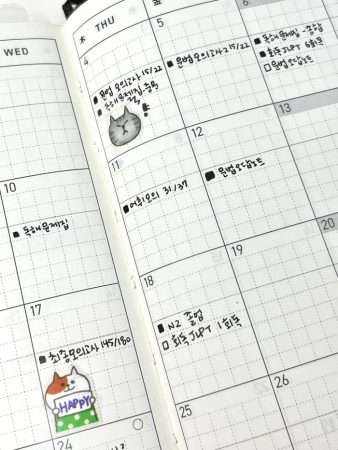
At the bottom of the right-hand page of each monthly spread, there are four built-in checkboxes. I used these for that month’s must-do milestones (not daily tasks). For example:
☐ Start mock exams
☐ Finish reading drills
☐ Complete Grammar Round 2
☐ Book N1 test date
When I completed one, I filled it (■). If something stayed unchecked by the end of the month, I migrated it forward and added a note about why it slipped. Keeping these key milestones in one place made it easier to see whether I was staying aligned with my bigger timeline.
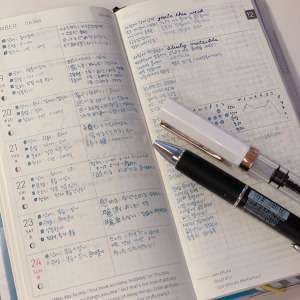
Review Cycles with Checkboxes
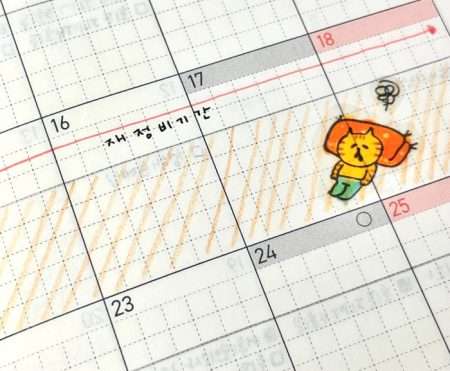
On the monthly date boxes, the first two lines were for personal events—such as travel, burnout, or periods of re-adjustment—that affected my study pace.
Below that, I tracked my study cycles with checkboxes. For example, if I began my N1 vocabulary workbook on August 3 and finished it on September 8, I would write on August 3: ☐ N1 Vocabulary Workbook, and on September 8: ■ N1 Vocabulary Workbook.
This simple system gave me more than just a record of what I had done. It showed me how review times became shorter with each round, which proved that my retention was improving. Watching those boxes fill in one after another created a strong sense of momentum, almost like collecting small victories, and it kept me motivated to move forward even on weeks when progress felt slow.
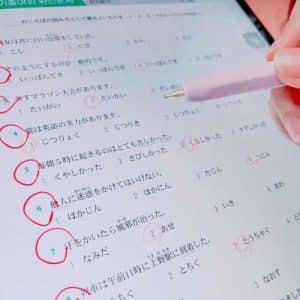
Monitoring Mock Exam Scores
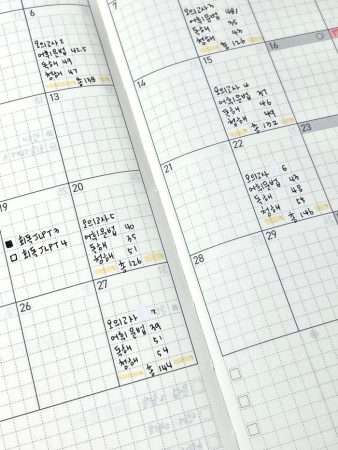
Toward the exam period, I recorded my mock exam scores directly on the monthly date boxes. This allowed me to see trends over several weeks and identify which sections still needed more attention. Writing the scores in one place helped me stay realistic about my progress instead of relying on vague impressions. I could clearly see, for example, that my listening improved faster than my reading, which told me where to shift my study hours. It also gave me confidence—when the scores gradually climbed, I knew the effort was paying off and that I was moving closer to my target level.
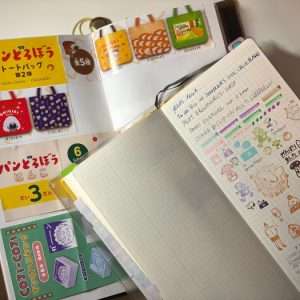
Weekly Pages: Detailed Study Actions
I built my weekly plans based on the timeline and monthly pages. Each spread acted as the link between long-term strategy and daily execution. To make the most of the Hobonichi Weeks format, I divided the pages into smaller sections that served different purposes.
Must-Do Study Tasks (Left Side of the Weekly Spread)
This section was for essential study items that had to be done during the week. I balanced subjects—vocabulary, grammar, reading, and listening—so nothing was left behind. Having these must-do tasks written down kept me accountable and prevented me from over-focusing on only one subject.
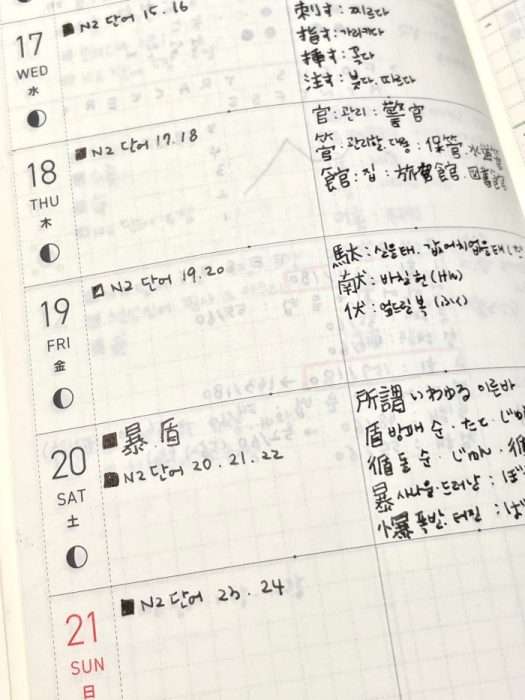
Difficult Points and Extra Notes (Right Side of the Weekly Spread)
On the other half of the weekly spread page, I kept space for grammar patterns that gave me trouble, kanji I often confused, tricky vocabulary, and extra study ideas I wanted to revisit during the week. By keeping them all together, I could glance back at these notes daily without flipping through multiple books.
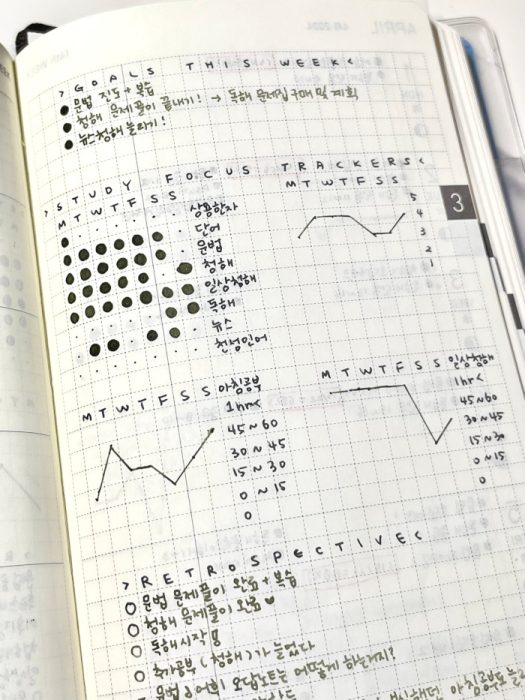
Goals and Study Trackers (Right Page, Top)
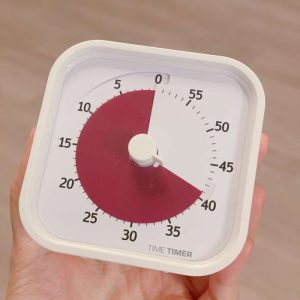
The right-hand page was reserved for weekly goals and tracking tools. I included subject trackers to check whether I studied each area, as well as a study time tracker to measure how many hours I actually put in. These trackers gave me an honest picture of both consistency and balance.
Weekly Reflections (Right Page, Bottom)
At the bottom of the right-hand page, I wrote short reflections: what went well, where I struggled, and what needed improvement. This review cycle helped me adjust my plan each week and prevented me from drifting off course.
Finding the Best Layout for Motivation
Over time, I experimented with different layouts to keep my motivation strong. Some designs worked better than others, and eventually I discovered the format that suited me best. I’ve written a separate post about the weekly layout that proved most effective for me—if you’re curious about variations, that post may give you more ideas on how to adapt the Hobonichi to your own study style.
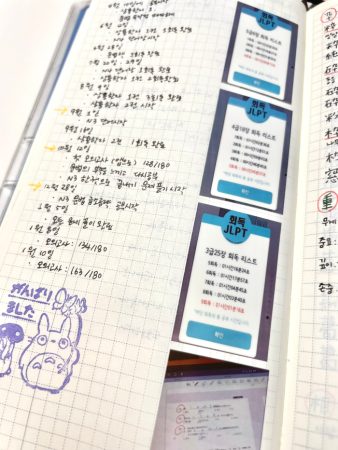
Beyond the Exam
One of the unexpected benefits of using a Hobonichi as a JLPT study planner was that it became a personal record of my journey. I attached my exam voucher and results to the notes section. I even wrote journal entries about how I felt on test day, my struggles during burnout, and the joy of reaching milestones.
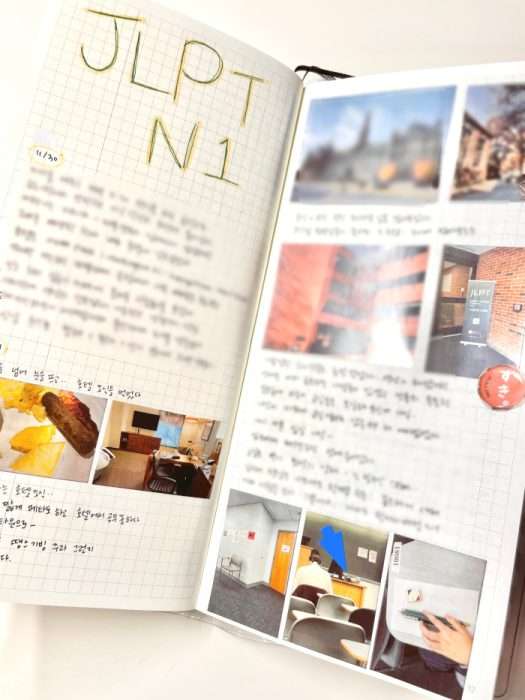
Looking back, the planner is not just a tool for passing an exam but also a memory book. It shows how I grew in discipline and how I handled challenges. This is why I still keep it as a treasured item.
The same method can be applied beyond JLPT. Any long-term goal—whether learning another language, preparing for professional exams, or working on a big project—can benefit from a planner system like this. The Hobonichi’s flexibility makes it suitable for almost any purpose.
Conclusion
Using a Hobonichi as a JLPT study planner helped me stay on track from the early timeline to the final mock exams. By designing layouts for notes, monthly goals, and weekly details, I created a system that combined structure with flexibility. Tracking progress through checklists, scores, and reflections ensured I knew exactly where I stood at any point in time.
Throughout the journey, I also experimented with different layouts and used them as a way to motivate myself. I poured everything into this notebook—from milestones to grammar notes—and even though burnout hit me more than once, looking back at my own study records gave me the energy to start again. Through all those trials and adjustments, I realized how powerful it is to have a planner that not only tracks tasks but also tells the story of your growth.
If you are preparing for the JLPT, consider turning your Hobonichi into more than just a daily planner. With a clear timeline and thoughtful layouts, it can become a powerful tool for progress tracking and motivation. And once the exam is over, you will have not just a study record but also a personal story preserved on paper. That’s why I plan to keep using the Hobonichi as a goal-oriented planner for the year ahead.
📖 Must-Read JLPT Study Tips & Strategies
- JLPT Study Planner with Hobonichi: Timeline and Layout Tips
- What to Do After Passing JLPT N1: How I Found New Motivation
- JLPT Test Results: How I Passed JLPT N1
- What to Expect on JLPT Exam Day: My Experience & Helpful Tips
- Improve JLPT Grammar Score: The Power of Reviewing Mistakes
- How to Improve JLPT Listening: Top Strategies & Tips
Looking for more ways to improve your JLPT study routine? Check out all my JLPT Study Tips for in-depth strategies, exam preparation advice, and motivation!
🕒 Must-Try Productivity & Time Management Tips
- ChatGPT for Language Learning: Using AI to Improve Speaking and Writing
- Kids Activity Planner for Parents: A Summer Schedule for Better Home Days
- Nail Art Planner: Printable Nail Design Template + Color Swatch Sheets
- Knitting Journal Notion Template: Your Complete Knitting Tracker
- Morning Pages Prompts: 100-Day Journaling Challenge (Free Download)
Want to manage your time better and stay productive? Explore practical tips and simple time-saving strategies: Browse All Productivity Tips
Explore More in Life Plan


Explore More in Study


Featured Videos: