Bottom-Up Cardigan Knitting FO: My First Fall Project
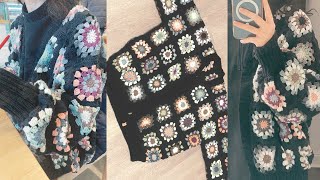
When the first cool breeze came through, I couldn’t resist starting something warm and fuzzy. This cardigan became my first bottom-up cardigan — and also my first cardigan made purely with knitting needles. My last cardigan was a crochet-motif one, so this felt completely different. It was messy, fluffy, and full of little lessons that made me fall for knitting all over again.
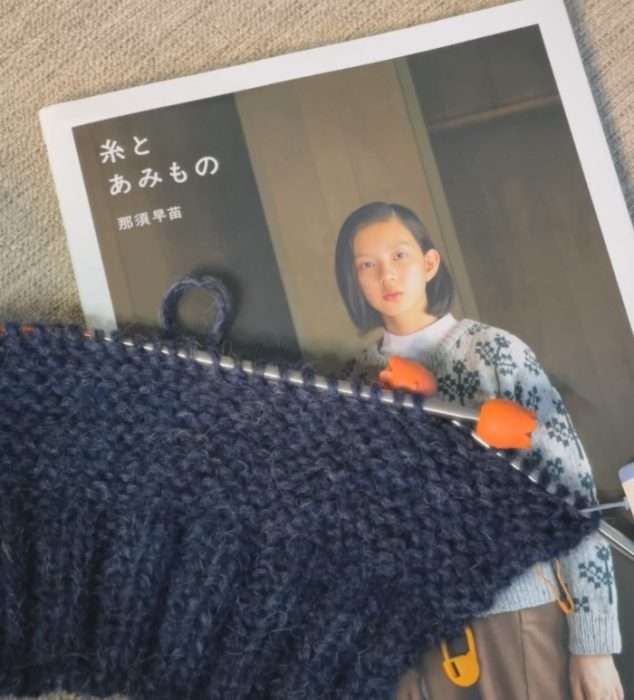
The pattern is called Kiki Cardigan from a Japanese knitting book I bought during my trip last year. I skipped the original yarn since it was hard to find (and expensive) and went with KnitPicks Wonderfluff in Abyss Heather — a deep navy with a cozy, soft look.
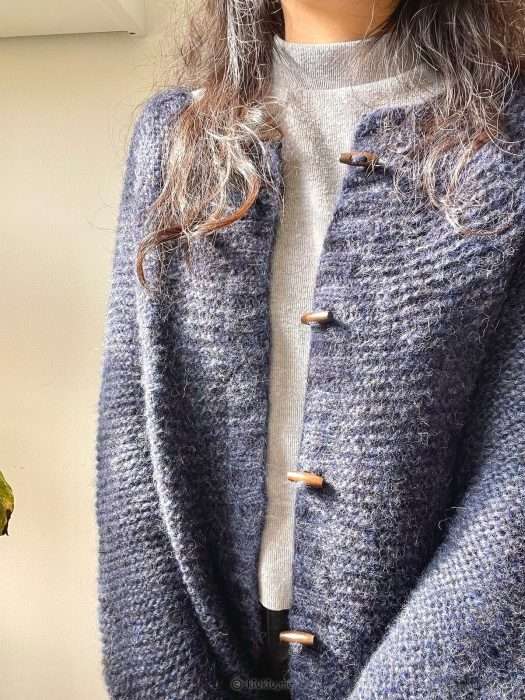
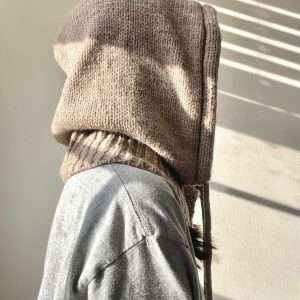
The result? A cardigan that feels like wearing a cloud, perfect for my first fall project.
📚 Keep Reading in This Series →
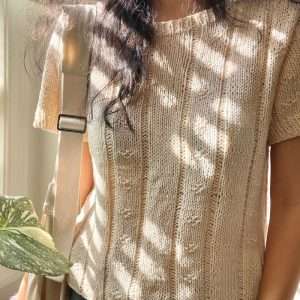
- Frills V-Neck Tank Top Knitting Pattern (Summer Wear Vol.2)
- Last Knitting Project This Summer: Lightweight Sweater Pattern
- Bottom-Up Cardigan Knitting FO: My First Fall Project (reading now)
- Knitting a Balaclava with Aran Yarn: A Cozy Korean-Fit Winter Project
Table of Contents
Project Info (Quick Facts)
Duration: October 6 – October 31
Pattern: Kiki Cardigan (Japanese pattern book)
Yarn: KnitPicks Wonderfluff in Abyss Heather (Baby Alpaca / Merino Wool / Nylon blend)
Needles: ChiaoGoo Interchangeable in 5.0 mm and 5.5 mm
Size: Modified (longer body & sleeves)
Method: Bottom-up cardigan construction
This was my first bottom-up cardigan using a chart-only Japanese pattern. I lengthened the body and sleeves for a looser fit, added a few tweaks along the way, and ended up with a piece that’s both soft and full of character.
Pattern Details & Preparation
Why I Chose This Pattern
The colorwork design on the cover was gorgeous, but I knew I’d want to modify the fit and details—and doing heavy colorwork mods on a first bottom-up attempt sounded stressful. Kiki Cardigan felt warmer and more “me,” with clean lines and a relaxed silhouette that I could lengthen without overcomplicating the construction. It also matched the mood of an early fall project I’d actually wear.
Chart-Only Format
This pattern is fully charted, with a short written overview in Japanese at the beginning. That short section helped more than I expected—it clearly outlined the knitting order so I could visualize the whole process before getting started.
I checked a few symbols and abbreviations, marked repeats with post-its, set up row counts for areas I planned to modify, and swatched for gauge. The post-its multiplied fast; by week two, my chart pages looked like a porcupine.
Yarn Choice: Why Wonderfluff
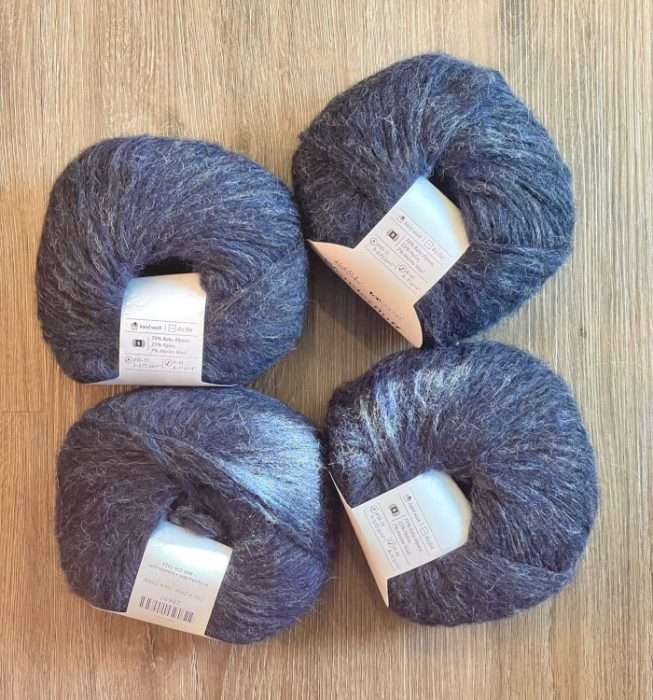
The original Japanese yarn was hard to find and pricey, and I wasn’t sure how it would feel in a cardigan. Around that time, Wonderfluff went on sale, and I’d seen it in a local shop before—soft, airy, and lightweight. Abyss Heather, a deep heathered navy, felt moody and warm, exactly what I pictured for a first-fall knit.
Customizing the Design
Body Adjustments
I prefer cardigans that cover the hips, so I added a few extra rows to extend the body length—but not too many, since my swatch stretched quite a bit after washing. Because my gauge differed from the book, I adjusted stitch counts as I went and used an Italian cast-on for the ribbing so the edge would stay neat and tidy even with a fluffy yarn like this.
Sleeve Adjustments
The flat-sleeve construction made knitting so much easier—no need to switch to short circulars or double-pointed needles. After that, I extended the sleeves just enough to brush the back of my hands. Markers lived on the needles for every increase section and seam alignment—future me was grateful during finishing.
Buttonholes & Small Modifications
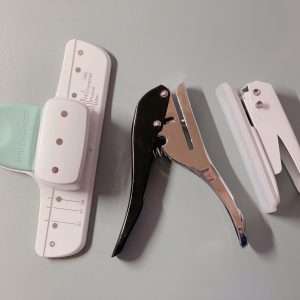
For the buttonholes, I used a YouTube method that creates a cleaner, more defined opening. It took two tries to look right with this fluffy yarn, but the redo was absolutely worth it.
Throughout the project, I documented every adjustment in detail—button spacing, repeat alignment, row counts, and all those “if gauge, then…” tweaks—on post-its. That paper trail saved me during finishing.
Knitting Process: From Bottom to Yoke
Bottom Section
Italian cast-on gave the ribbing a neat, elastic start. Wonderfluff’s halo softens the stitch definition, so the rib doesn’t shout—but you feel the clean edge when you stretch it, and that’s satisfying.
Main Body
This is where the fluff reality set in. My bedding is white; Abyss Heather is not. After one evening I moved off the bed for good and kept a lint roller within reach at all times. Even with the shedding, the fabric grew quickly and stayed feather-light on the needles. I triple-checked the chart before each shaping zone—Frogging fuzzy yarn can get messy in no time, so it’s much easier to pause and double-check the chart than to deal with knots later.
Sleeves & Assembly
Flat sleeves were surprisingly zen to knit. Using markers for each increase made seaming almost fun. The underarm bind-off was the trickiest bit—those loops hide in the halo—but with patience and a little extra light, both sides matched cleanly and didn’t leave a hole.
Yoke Section
My first bottom-up yoke turned out much easier than I expected. The decreases lined up beautifully, and seeing the shoulders form row by row was really satisfying. It did get a bit bulky once the sleeves and body were joined, but the “it’s finally coming together” feeling made up for the extra juggling.
Collar & Button Band
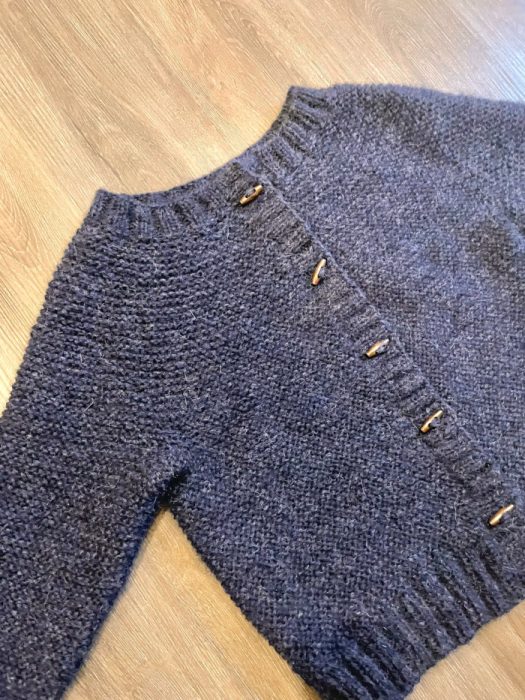
Picking up the neckline stitches was simple and smooth. The button band, on the other hand, needed a redo. My first buttonholes didn’t look clean — the tension was off and the edges looked a bit rough — so I unraveled the band and knitted it again using the YouTube method I’d practiced earlier. The second try came out even and tidy.
Finishing & Fit After Blocking
Blocking Results
After washing, the cardigan stretched about 5cm in length and narrowed by around 4cm — pretty typical for this kind of fluffy yarn, but a bit more than I expected. I gave it a gentle steam and shaped it back to the size I wanted, leaving it with a longer, slightly slimmer drape that fits the silhouette nicely.
Fit & Drape
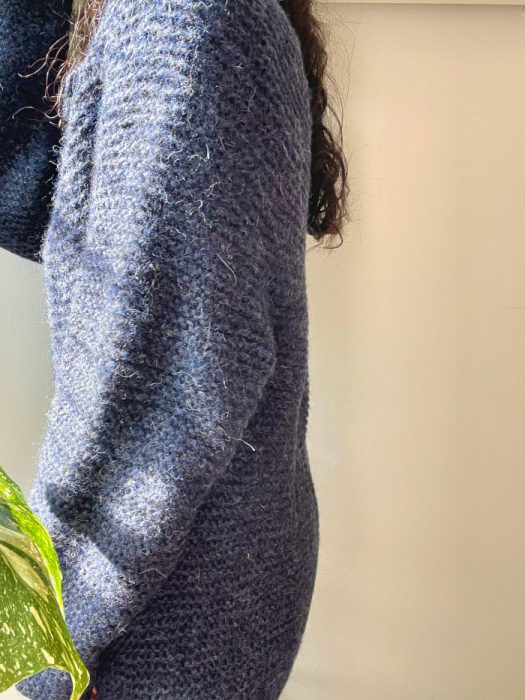
Light, warm, and easy to layer. It has a relaxed fit without looking sloppy, and the navy gives it a simple, polished look. After blocking, the halo settled a bit, and the fabric feels soft and balanced—just the airy texture I wanted.
Pattern Review: How It Reads & Knits
The charts are clear and well-organized. Once you get used to the symbols, the knitting flows naturally—almost like solving a quiet, satisfying puzzle. Before the charts begin, there’s a short written section (in Japanese) that explains the overall construction, so you know what’s coming next. Based on that, I made a small note of the key steps at the top of the page to keep track of the order.
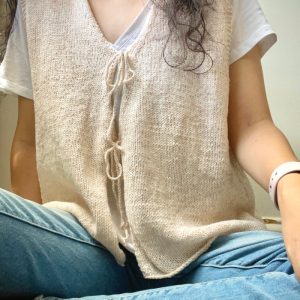
Although both the written description and charts are clear, I wouldn’t recommend this pattern for complete beginners—especially if you’re new to bottom-up knitting. Before starting this one, I worked on a simpler charted bottom-up project, the frill vest, to get a sense of how the construction flows. It really helped me feel more prepared for this cardigan.
📝 Related Posts in This Section →
Yarn Review: KnitPicks Wonderfluff
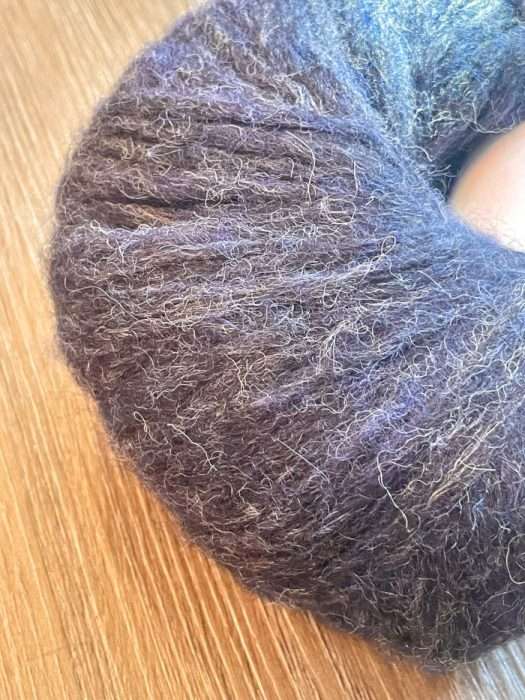
Texture & Feel
It’s incredibly soft and light, with a gentle halo that gives it a cozy, slightly dreamy look. The color Abyss Heather has a nice depth to it, changing subtly under natural light—rich but still understated.
Pros
- Airy warmth with almost no weight.
- Cozy fuzzy surface and beautiful, calm color tones.
- Priced reasonably; goes on sale often; shipping is quick.
- Gives strong autumn/winter vibes the moment you cast on.
Cons
- Noticeable shedding.
- Frogging tangles easily—double-check before you rip.
- Halo blurs textured details; best for simpler surfaces or relaxed silhouettes.
Final Impression
Wonderful for garments where softness and warmth matter more than crisp stitch definition. I’d use it again for relaxed sweaters, cardigans, and accessories—just keep a lint roller handy and avoid constant reworking.
Thoughts on Bottom-Up vs Top-Down
Fit & Structure
Bottom-up gave me a tidier shoulder line and a neckline that feels more stable. Starting with the big lower section helped my tension settle before I got to the most visible areas up top.
Workflow & Experience
There’s more assembly, yes—but joining it all at the yoke is oddly satisfying, like snapping in the last puzzle pieces. I enjoyed the sense of structure and the clean finish along the arms and shoulders.
Personal Reflection
I used to knit mostly top-down and was never happy with how my sleeve pickups looked. Trying a bottom-up design completely changed that. The overall shape feels cleaner and more put-together, and I’m already excited to try more patterns made this way.
Final Thoughts: My First Bottom-Up Cardigan
This project taught me to trust charts, plan modifications without overthinking them, and make peace with the fact that halo yarn gets everywhere. The cardigan turned out soft, light, and truly wearable—just what I wanted for my first fall project. It’s not the cardigan I first admired on that book cover, but it’s the one that helped me understand bottom-up knitting. With a stack of post-its, a cleaner buttonhole, and a loyal lint roller, this is a piece I’ll keep reaching for all season.
🧶 Must-Try Knitting & Crochet Projects
- Bottom-Up Cardigan Knitting FO: My First Fall Project
- Last Knitting Project This Summer: Lightweight Sweater Pattern
- My Favorite Things: Camisole No.4 — Simple Camisole Knitting FO
- Granny Square Cardigan FO: The Final Touches
- Modifying My Crochet Granny Square Cardigan for a Perfect Fit
- JHIA vs. TKGA: Which Knitting Certification Is Right for You?
- JHIA Knitting Certification: Is It Right for You?
- My Granny Square Cardigan Journey: Stitch by Stitch
Ready to start your next knitting project? Explore patterns, tutorials, and ideas for inspiration: Browse All Knitting & Crochet Projects
🧵 Must-Try Knitting Supplies & Ideas
Explore More in Creativity


Latest Updates:


Featured Videos: