Hobonichi Weeks 2026 Setup: How I Set Up My Planner for 2026
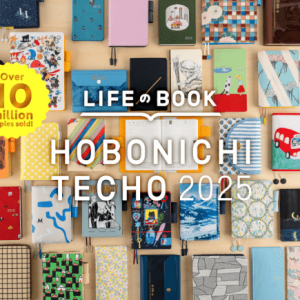
I came back to the Hobonichi Weeks for 2026 simply because it worked so well for me in 2024. I’ve tried many planners over the years — digital tools, bullet journals, and even custom systems — but nothing helps me manage my time and stay motivated quite like the Hobonichi Weeks. I’m not using it alone this year; I’ll be pairing it with a few other planners for different purposes. But when it comes to keeping myself on track day to day, this compact planner always does the job. It’s simple, reliable, and feels like the perfect reset for another new year.
This post isn’t about decorating pages or doing fancy spreads. It’s a simple, realistic setup for how I prepare my Hobonichi Weeks for the new year — the things I always do before writing a single word in it. Whether you’re new to Hobonichi or returning like me, I hope my process gives you a few ideas for your own setup.
📚 Keep Reading in This Series →
- Time Tracker for Hobonichi Weeks & A6 (Free Download)
- Free Mandala Chart Template for Your New Year Goals
- Hobonichi Weeks 2026 Setup: How I Set Up My Planner for 2026 (reading now)
Table of Contents
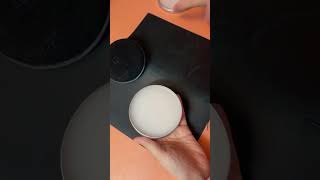
First Step: Protecting the Cover
The very first thing I do after unboxing my Hobonichi Weeks is putting on a PVC clear cover. I’m extremely protective of my planner covers — scratches, stains, or bent corners make me cringe.
This year’s cover is so beautiful that I honestly hesitated. Part of me wanted to leave it uncovered to enjoy its texture and design, but I know myself too well. If I accidentally scuff it, I’ll feel terrible every time I open it. So yes, I gave in and covered it right away.
I use the official Hobonichi PVC cover (the “Clear Cover on Cover”) because it fits perfectly and doesn’t make the planner bulky. It also gives me a little pocket in the back where I can slip in a postcard or a flat sticker sheet.
Adding the Elastic Page Keeper

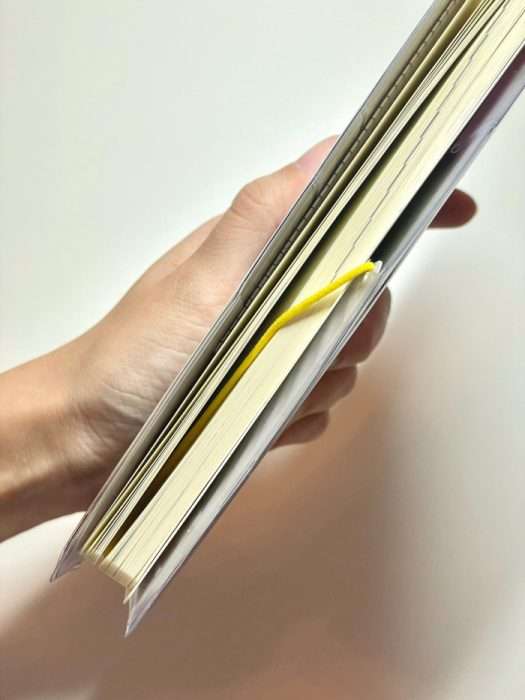
Once the cover is safe, I attach an Elastic Page Keeper. It’s basically a slim band that wraps around the planner, letting you mark the page you’re currently on.
Many people use the built-in ribbons (bookmarks), but I rarely do — they tend to fray or tangle when I carry my planner in my bag. The elastic band, on the other hand, keeps everything flat and tight. I can flip right to the page I need, whether it’s the weekly layout or notes section.
This year, I’m reusing the same one from last year. It’s a bit stretched out, but still works fine. I like that slightly worn-in feeling; it reminds me that I’ve actually used my planner consistently. If you’re new to this accessory, it’s small but surprisingly helpful, especially for quick daily access.
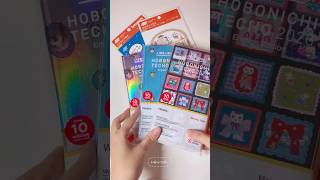
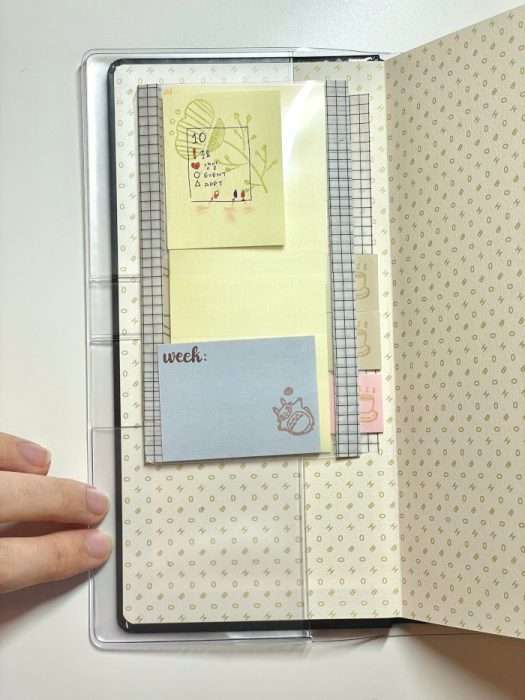
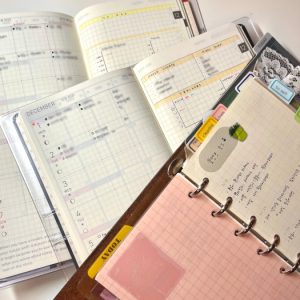
Making a Mini Fold-Out Organizer from a Clear File
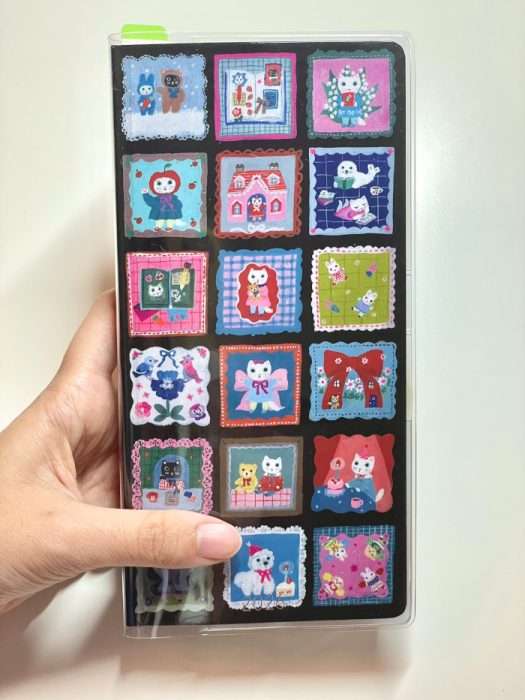
My favorite part of setting up the Hobonichi Weeks is making a mini fold-out organizer from a clear file. It’s an accordion-style insert with three connected panels, perfect for storing sticky notes and small stickers I use often.
To make it, I cut three pieces of clear file to about 7 × 12.5 cm (2.75 × 4.9 in) each and joined them with washi tape along the edges so they fold out like a tiny book. Then I attached one side to the inside front cover with double-sided tape.
When opened, each section holds something different — sticky notes on one, round stickers on another, and sometimes small memos or labels. It keeps my most-used items right inside the planner without adding bulk.
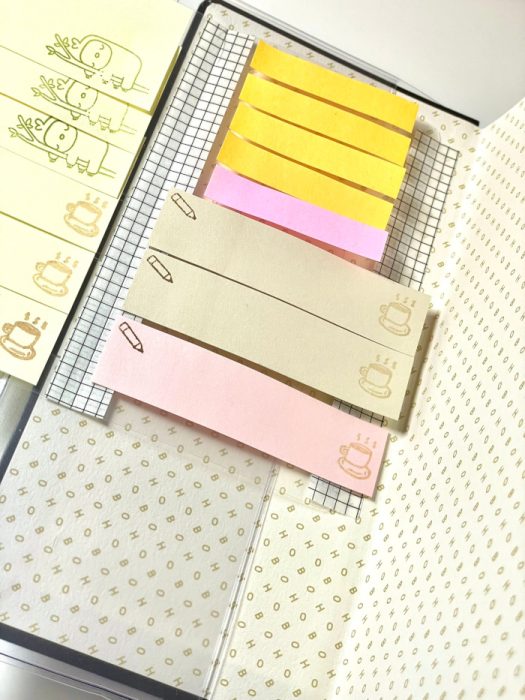
I used to flip through my full sticker book every time I needed a dot sticker or post-it, which slowed me down. Now, this fold-out organizer works like a compact dashboard: everything I need for quick planning is just one flip away.
📝 Related Posts in This Section →
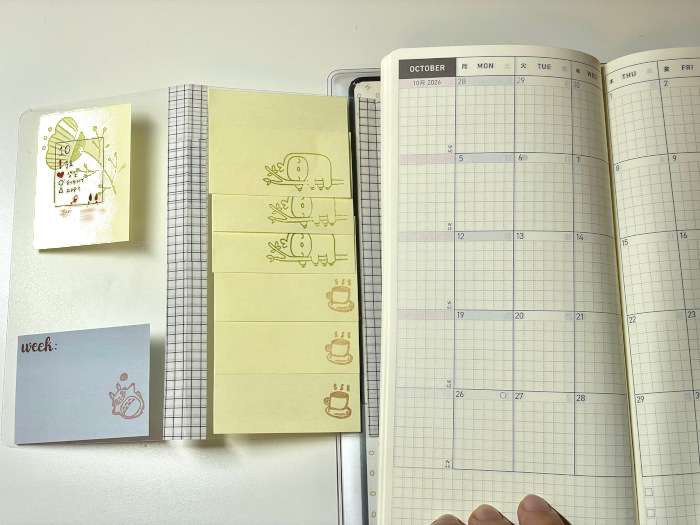
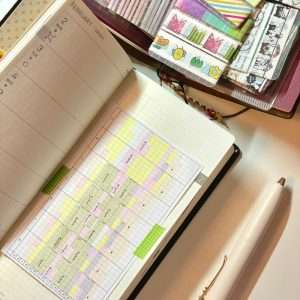
Setting My Monthly Page Rules
Next, I decide how I’ll use the Monthly pages. The Hobonichi Weeks monthly spreads are simple but powerful — I always set a few personal “symbols” to keep things consistent.
Here are some examples of how I mark my monthly pages:
⭐ Top right corner → Important day or event
❤️ Bottom left corner + name → Someone’s birthday
🔸 Triangle → Appointment or schedule that might change
I write this little key on a sticky note and tuck it into the first page of my mini fold-out organizer. When I open the fold-out, it sits right beside the monthly spread, so I can glance at it while writing. It’s much easier than sticking it on another page and flipping back and forth every time — everything stays in view while I plan.
Using the same marks throughout the year helps me spot things at a glance. I don’t have to re-think how to mark birthdays or deadlines — it’s all standardized from day one.
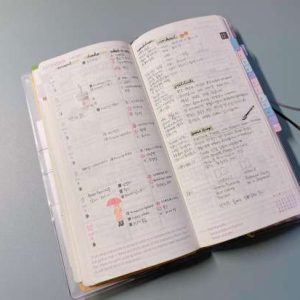
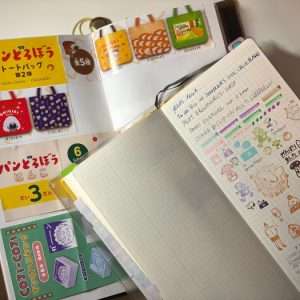
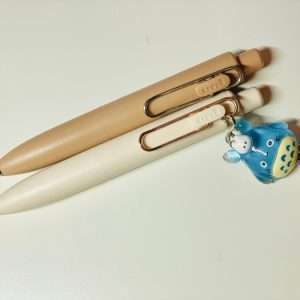
Pen Test on Tomoe River Paper
Before writing anything serious, I always do a pen test. If you’ve used a Hobonichi before, you know the famous Tomoe River Paper can be tricky. It’s thin, smooth, and fountain-pen-friendly — but some inks still feather or smudge.
Since my pen preferences have changed over the past couple of years, I dedicate the first page of the Notes section to test pens. I write a few lines with each one, wait about 30 seconds, then swipe my hand across to see how easily it smears.
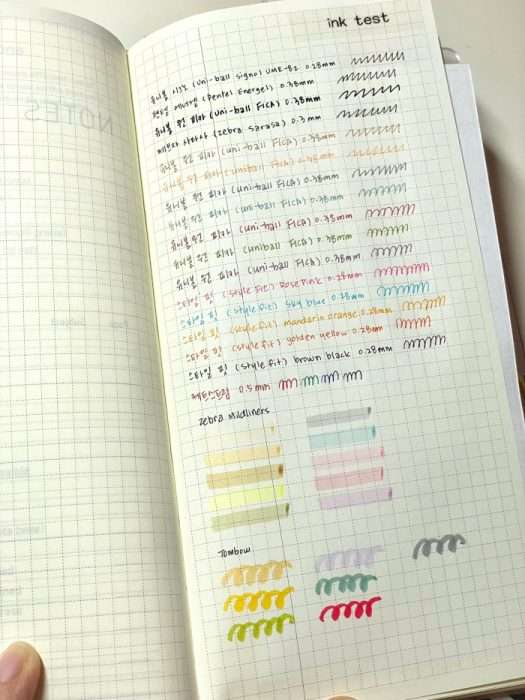
Some inks dry fast and stay sharp, while others — especially gel pens with juicy ink — need extra time. Doing this once saves me from ruining my weekly pages later. I also jot down which ones performed best so I can switch easily mid-year if needed.
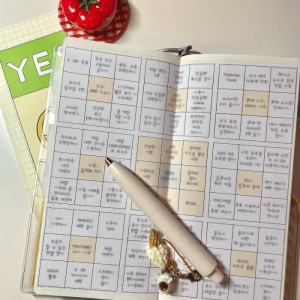
Adding a Mandal-Art Page for 2026 Vision
Once the pen test is done, I move on to something more creative — my Mandal-Art page.
If you haven’t heard of it, Mandal-Art is a Japanese goal-setting method that starts with a 3×3 grid. You write your main goal in the center and break it down into smaller actions in the surrounding boxes. It’s simple but very effective at visualizing what you want to focus on.
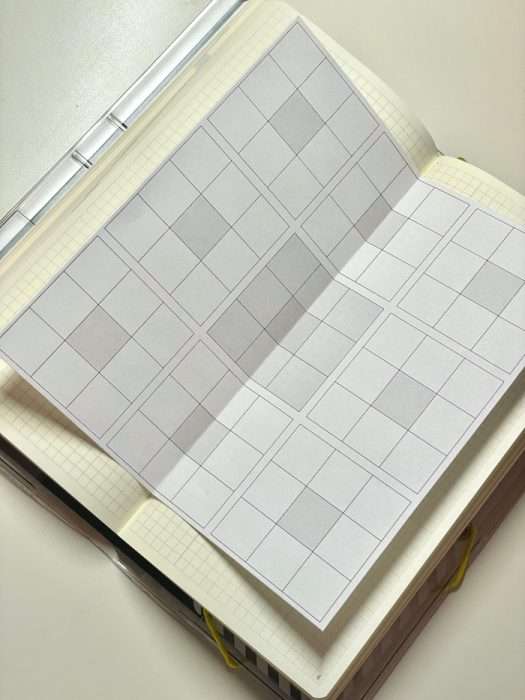
I’ve shared my printable version before (here). For this setup, I printed one scaled to fit Hobonichi Weeks size and glued it on the page right after my pen test.
I love this step because it transforms the planner from a blank notebook into something personal. My 2026 Mandal-Art includes things like “creative consistency,” “time discipline,” and “health routine.” Every time I flip through my planner, it reminds me what kind of year I want to create.
December Time Tracker Setup
The last step in my setup is preparing a Time Tracker for December.
I shared this layout in another post before — it’s a full-day tracker that shows how I spend my time in blocks. My goal isn’t to track productivity in a strict sense but to understand my natural patterns.
Lately, I’ve been juggling many things: blog updates, new ideas I want to try, small projects I keep starting. It’s not that I waste time — I just feel scattered. The time tracker helps me see when I tend to focus better, or when I start switching tasks too often.
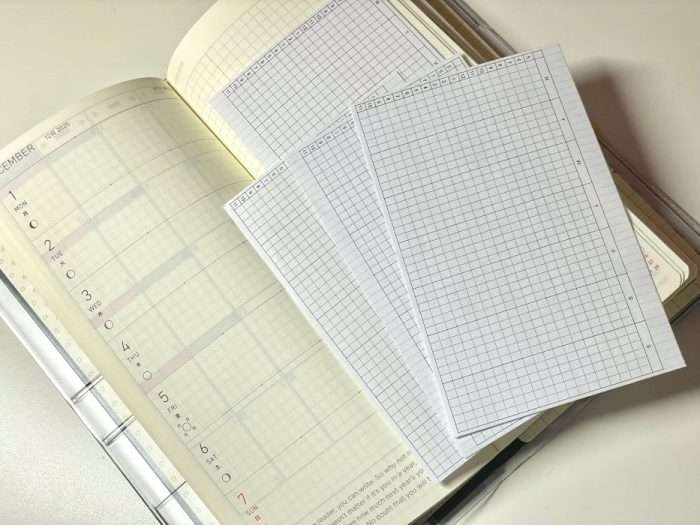
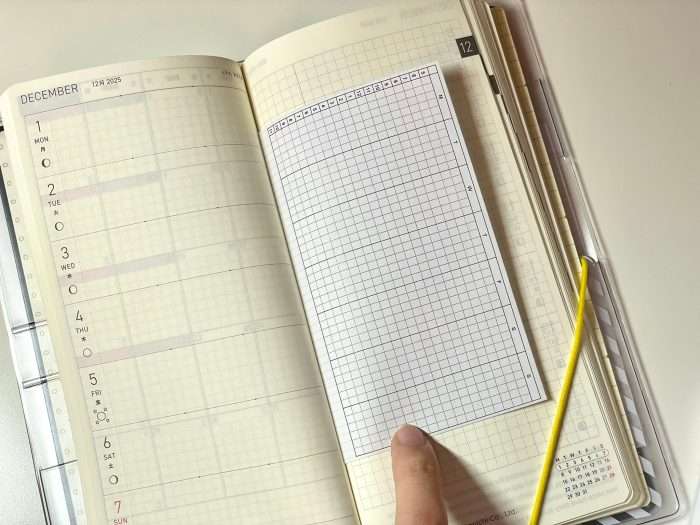
I printed my template again, cut it to fit, and tape it onto the December weekly section. I’ll color-code different activities (blogging, journaling, study, rest) and track for about two weeks to see my rhythm. Once I have the data, I can plan my 2026 routines around it.
Wrapping Up
And that’s my Hobonichi Weeks 2026 setup.
It may look simple, but these small preparations make a huge difference in how smoothly the year begins. With the cover protected, pages organized, and goals visualized, I feel ready to start planning again.
I’m still deciding whether to share my first-month setup — honestly, it’ll be very minimal. But I’ll definitely post about my 2026 planner and journal lineup soon. After coming back to Hobonichi Weeks following a break, I feel even more excited to use it again.
If you’re setting up your own planner, I hope this gave you a few practical ideas. Sometimes the best setups aren’t the prettiest — they’re the ones that make you actually want to open your planner every day.
📚 Keep Reading in This Series →
- Time Tracker for Hobonichi Weeks & A6 (Free Download)
- Free Mandala Chart Template for Your New Year Goals
- Hobonichi Weeks 2026 Setup: How I Set Up My Planner for 2026 (reading now)
📝 Must-Try Journaling Ideas & Inspiration
- Morning Pages Prompts: 100-Day Journaling Challenge (Free Download)
- 2026 Planner Lineup: How I Set Up My Planners for the New Year
- Free Mandala Chart Template for Your New Year Goals
- Time Tracker for Hobonichi Weeks & A6 (Free Download)
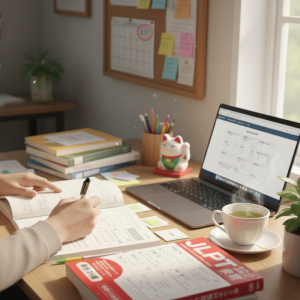
- JLPT Study Planner with Hobonichi: Timeline and Layout Tips
Want to level up your journaling practice? Explore tips, prompts, and organization ideas: Browse All Journaling Tips
🕒 Must-Try Productivity & Time Management Tips
- Knitting Journal Notion Template: Your Complete Knitting Tracker
- Morning Pages Prompts: 100-Day Journaling Challenge (Free Download)
- Free Mandala Chart Template for Your New Year Goals
- Time Tracker for Hobonichi Weeks & A6 (Free Download)
- JLPT Study Planner with Hobonichi: Timeline and Layout Tips
Want to manage your time better and stay productive? Explore practical tips and simple time-saving strategies: Browse All Productivity Tips
Explore More in Life Plan

Latest Updates:


Featured Videos: