Stamping Essentials: My Must-Have Tools for Better Results
Stamping has become one of my favorite ways to add character to my planner pages, sticky notes, and even random to-do lists. Over the years, I’ve found myself reaching for certain tools again and again—tools that make stamping easier, cleaner, and way more satisfying. From cute pencil boards tucked into my Midori diary to a DIY sponge cleaner I can’t live without, these little helpers have become part of my routine.
In this post, I’ll share the stamping essentials I personally use, how I use them, and why they’ve earned a permanent spot in my creative space. These items help me get better results, keep things tidy, and make the whole process more enjoyable.
Table of Contents
Why the Right Stamping Tools Matter
When I first got into stamping, I honestly thought it just wasn’t for me. I smudged a bunch of pages, pressed too hard, and ruined some of my favorite spreads. It felt frustrating, and for a while I stopped using stamps altogether.
But later on, I came across a few tools that completely changed the experience—things that made stamping easier, cleaner, and much more predictable. That’s when I realized it wasn’t the stamping itself, but the setup that made all the difference.
Having the right setup means:
- Cleaner, more even impressions
- Less frustration when things smudge or shift
- Faster cleanup and easier organization
I’ve tried a lot of methods over time, and these are the items I reach for most often when I sit down to stamp—whether I’m working in my journal, decorating sticky notes, or prepping stickers.
Essential Stamping Tools I Use
Once I figured out what was getting in my way—uneven surfaces, slippery boards, and the wrong kind of pressure—I started exploring different tools. Some of them were accidental discoveries, others were recommended by fellow stationery lovers. These are the ones that stuck. They make the stamping process smoother, cleaner, and honestly, a lot more fun.
Stamping Boards
The base under your paper can make a surprising difference. A good stamping board helps distribute pressure evenly and prevents bleeding or ghosting.
1. Pencil Boards (Shitajiki)
These thin boards originally designed for writing support are one of my favorites. I use:
- Hobonichi pencil boards
- Traveler’s Company pencil boards
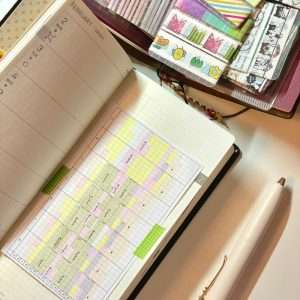
I have several of each, and I use them in a variety of ways: inside my A7 binder refills, tucked into my Midori A6 diary, and even as a base when stamping inside journals. Cute designs are a bonus that make me reach for them more often.
2. Penco Clipboards
These sturdy wooden boards are my go-to when stamping on sticky notes or smaller papers. The texture feels good, and they hold things in place. They also come in smaller sizes than standard clipboards, which makes them super convenient to use on a narrow desk. I’ve also cut clear file folders to size and slipped them between the board and the paper to prevent ink from seeping through.
Since I decorate a lot of to-do list sticky notes with mini stamps, this setup helps a lot. I stamp a batch at once, then store them in a sticker book I made by modifying a Traveler’s Notebook (passport size). You can see it here.
3. Sanby x Eric Rubber Stamping Mat
This one is made specifically for stamping and is a bit different from pencil boards. It’s rubber-based, which means stamps often come out darker and more solid. The non-slip backing is the best feature—it doesn’t slide around like pencil boards sometimes do, and that makes a huge difference when you want a clean impression. I don’t reach for it every time because it feels like an extra step—as I already have a pencil board on my desk all the time—but when I want crisp results, this is the one I pull out. Eric’s stamps have such a unique and charming vibe, and this rubber mat, with its cute design, adds to that feeling. It’s like having a little piece of decoration on your desk that also happens to be super functional.
Acrylic Blocks

If you use clear stamps (also known as cling stamps), you absolutely need acrylic blocks. I keep three sizes on hand:
- Small
- Medium
- Large
Personally, I prefer ones with a more rectangular shape over round ones. The transparency lets me place my stamps exactly where I want them.
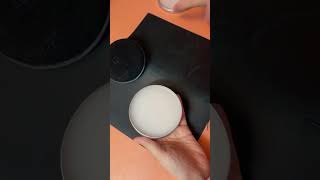
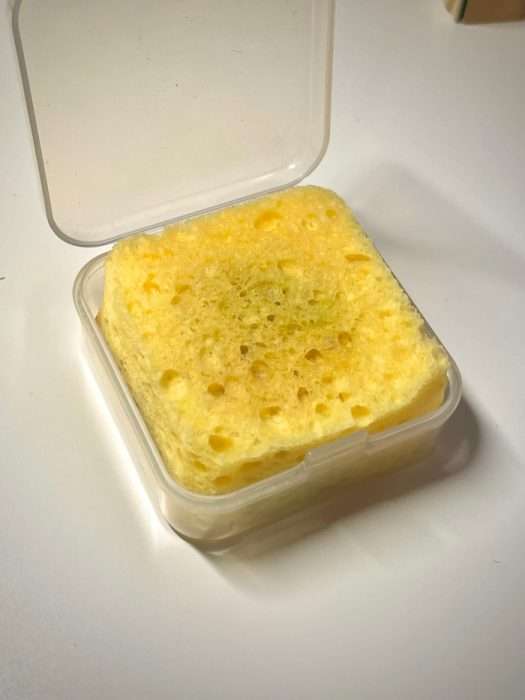
Cleaning Sponge
This is a simple but game-changing DIY. I cut a sponge to fit inside a small plastic container. Before stamping, I add a little water to the sponge and use it to wipe off the ink right after each use.
Why it works for me:
- Gentle on stamps
- Gets into crevices better than wipes
- Reusable and less wasteful
I used to use wet wipes, but they would shred and get caught between stamp details. The sponge method is cleaner and more eco-friendly. I don’t use a big container—just something small that doesn’t take up much space on my desk.
It works well for water-based inks, but not as much for oil-based inks—those tend to leave a bit of staining behind. For oil-based stamps, I use a dedicated stamp remover.
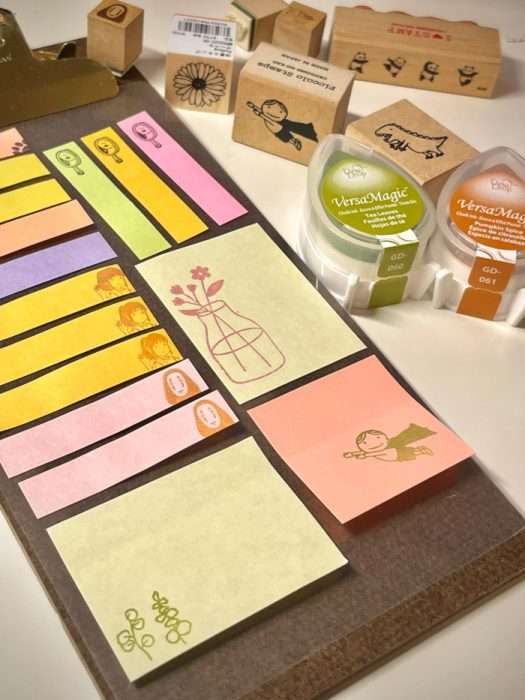
Stamp Positioner
There are a few types of stamp positioners out there—including book-style ones that seem popular for card making—but I personally use an L-shaped acrylic block with a thin positioning sheet. I didn’t find clear stamps that hard to place using a regular acrylic block, but I struggled more with wooden stamps. After I got my hands on this L-block style positioner, it became my go-to whenever precise placement really matters. It doesn’t take up much space, so it works great even on a narrow desk.
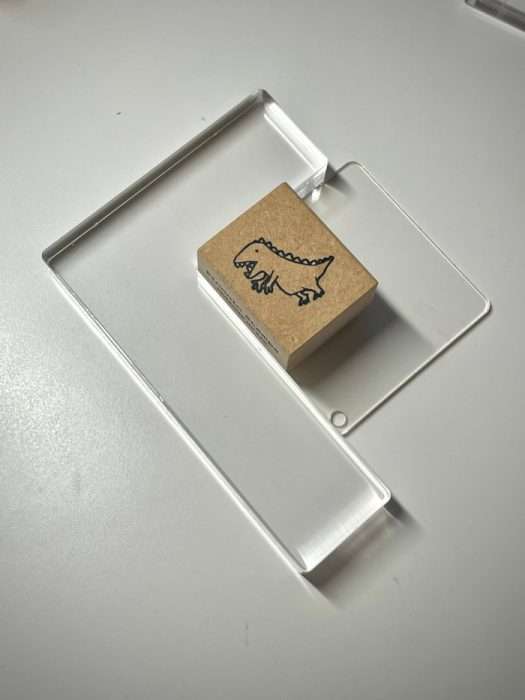
Here’s how mine works:
- It includes a thin acrylic sheet and an L-shaped acrylic block.
- I stamp on the acrylic sheet while it’s aligned to the corner of the L-block.
- Then I position the sheet over my paper where I want the final image.
- Once I’m happy with the placement, I remove the sheet and stamp directly with the block in the same position.
It’s especially useful for layering stamps, alphabet stamps, or stamping inside boxes or guides.
Check out the short video to see the stamping tools in action!
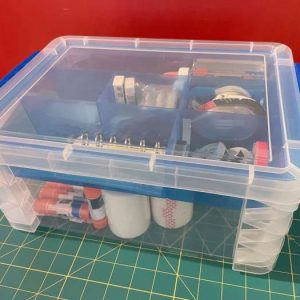
Storage & Organization
Keeping your supplies organized isn’t just for neatness—it also protects your tools.
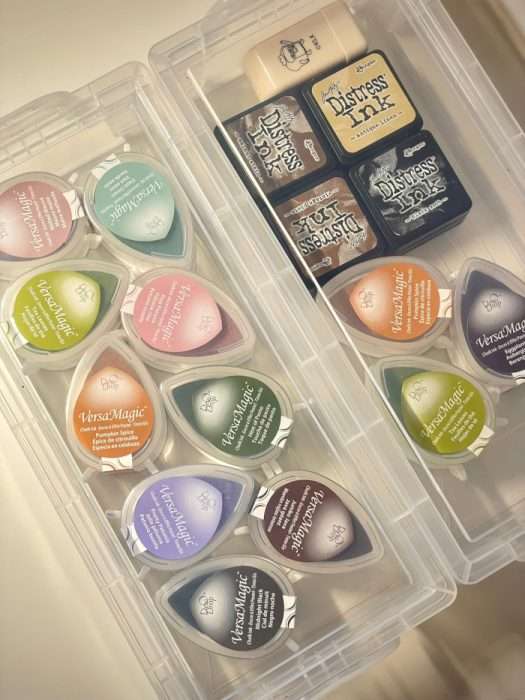
Ink Pads: I store them in stackable plastic containers with lids so they don’t dry out. After frequent use, some ink pad lids tend to loosen a bit—so I’m even more careful to keep them sealed in containers to preserve moisture and prevent accidents.
Wooden Stamps: These go in another container, arranged upright when possible to prevent rubber damage. I avoid humid spots to prevent mold. I did try using an acrylic drawer unit at one point, but it was too bulky for my desk setup. Now I just label containers and store them neatly inside my IKEA Kallax shelf—it’s more compact and works better for my space.
Clear Stamps: I keep these in an A5 binder with clear pockets. This makes it easy to flip through and find what I need.
One thing I always do: store everything in a cool, dry area. High heat can cause the rubber on stamps to warp or stick to plastic.
Bonus Tips for Clean Stamping
- Always test your stamp on scrap paper before using it on a final page.
- Let ink dry before flipping pages or layering.
- Clean stamps immediately after use to prevent ink build-up.
- Don’t press too hard—especially on softer surfaces. A light, even press is often enough.
Final Thoughts
Stamping is more enjoyable when your tools work with you, not against you. I’ve gone through a fair bit of trial and error to get to this point—ruining pages, buying things I never used, and learning what actually fits my style. Now, with the right setup, stamping has become something I look forward to. It’s a creative pause in my day that feels both relaxing and satisfying.
These stamping essentials help me stay consistent, creative, and mess-free. Whether you’re new to stamping or just looking to improve your results, I hope my setup gives you some ideas. I’m always tweaking and trying new things, but these tools have been reliable companions for a long time.
Everyone has their own preferences, but it’s worth experimenting to see what fits your style and workflow. If you’re curious about anything I mentioned, I hope this gave you a few new ideas to try out.
✂️ Must-Try Stationery DIY Projects
- Hobonichi Weeks 2026 Setup: How I Set Up My Planner for 2026
- Time Tracker for Hobonichi Weeks & A6 (Free Download)
- How I Set Up My Traveler’s Notebooks – Passport Size
- Best Hole Punch for Ring Binders: What Worked & What Didn’t
- DIY Washi Tape Binder with Travelers Notebook
Looking for creative ways to personalize your stationery? Dive into all my Stationery DIY projects for step-by-step tutorials, unique ideas, and inspiration to elevate your journaling and crafting experience!
🖊️ Popular Stationery Reviews
- Uni-ball One P Refill Compatibility: The Best Gel Pen Setup with Signo
- Best 2026 Planners: Top Picks for Every Planning Style
- Hobonichi Weeks 2026 Review: Purchase & First Look
- Hobonichi Weeks vs Traveler’s Notebook: Which One Fits You?
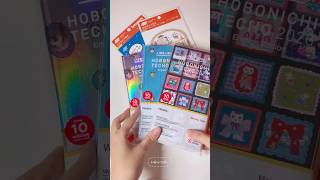
- Hobonichi Techo 2026 Lineup: My Picks & What to Buy
Looking for the best stationery to enhance your journaling experience? Check out all my Stationery Reviews for detailed insights, product recommendations, and tips to help you choose the perfect tools for your creative projects!
Explore More in Creativity

Latest Updates:


Featured Videos: