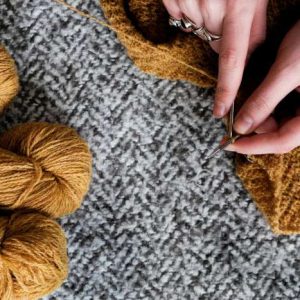
DIY A7 Ring Binder Tutorial: Traveler’s Notebook-Inspired!
When I set out to find the perfect A7 ring binder for my 2025 planner, I quickly realized that none of the options quite met my needs. Most leather binders came with too many unnecessary features—pockets, bill holders, and snap closures that only added bulk. I wanted something sleek, simple, and customizable to keep my planner compact. This led me to the decision to make my own A7 (also, M6) binder using a leather sheet.
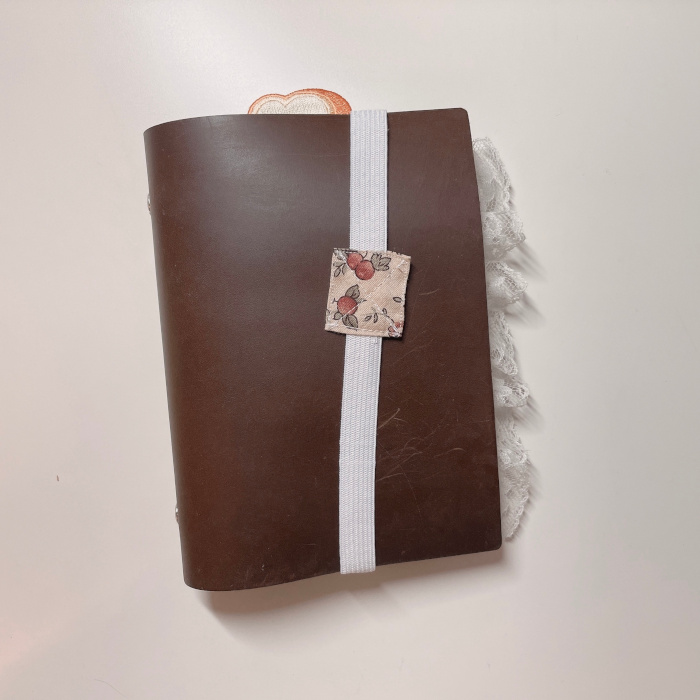
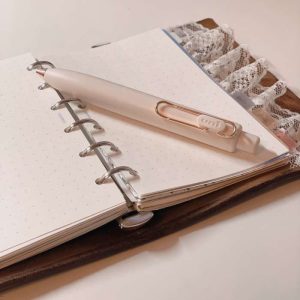
In this tutorial, I’ll walk you through how to make a leather A7 ring binder that’s both customizable and minimal. I’ve also included photos of the final product to inspire your own DIY project!
Table of Contents

Why I Decided to DIY A7 Ring Binder
- Customizable Ring Size: I started with a 15mm ring for compactness, but as my planner grows, I can upgrade to a 20mm ring. Pre-made binders rarely offer this flexibility, so making my own allowed me to adapt it to my needs.
- No Pockets: Many leather binders come with extra pockets for cards and bills, but I found them unnecessary. The extra pockets only add to the bulk, so I opted for a minimalist design focused on function.
- Avoid Bulkiness: By eliminating pockets and unnecessary features, I kept the binder lightweight and easy to handle. I sized it just right for my planner and inserts, leaving enough room without feeling oversized or bulky.
- Elastic Band Closure: I’ve always preferred elastic closures over snap closures, which can interfere with writing. The elastic band holds everything together without adding bulk and keeps the planner neat and functional.
- Beginner-Friendly Leather Craft: Leather crafting was new to me, and this project was perfect for beginners. All it required was cutting, hole-punching, and burnishing, making it a simple and rewarding introduction to leatherwork without needing complex tools or sewing.
Materials I Used

Leather Sheet:
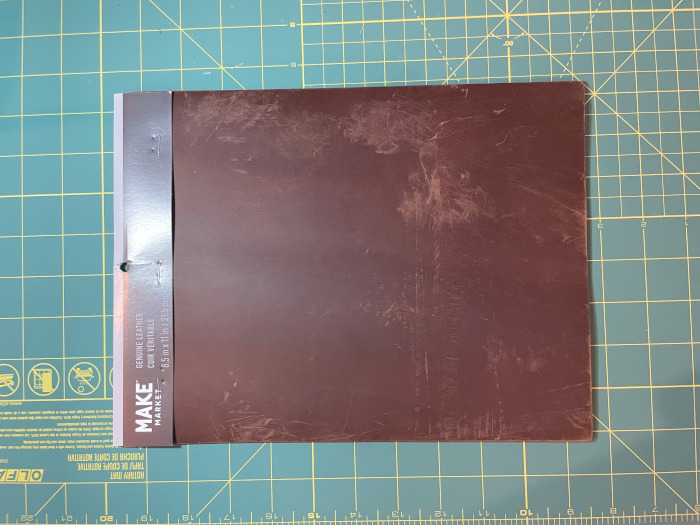
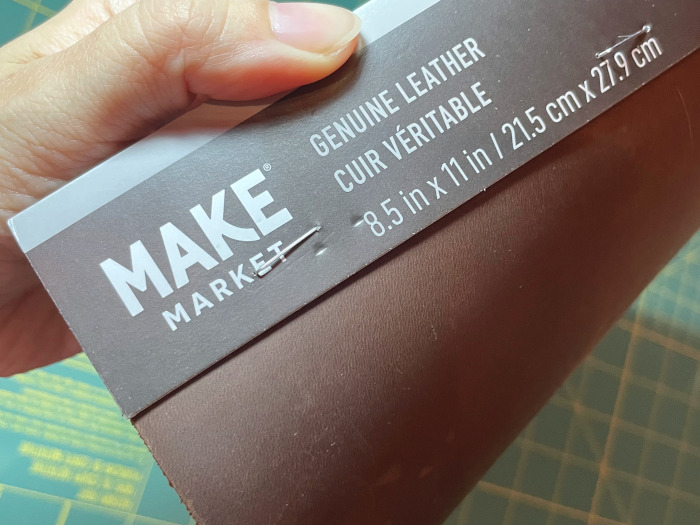
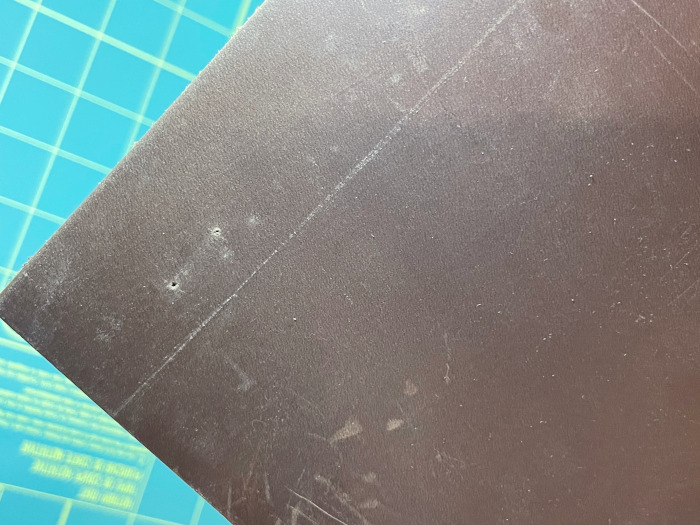
I used Brown Leather Trim by ArtMinds from Michaels, scoring it for 40% off during Labor Day sales. One thing to note is that the leather sheet was stapled, which can be a bummer if you’re planning to use the entire sheet. However, for my DIY project, I was able to cut it in such a way that my binder didn’t end up with any staple holes.
Cutting Mat:
Essential for protecting surfaces when using a rotary cutter or leather hole punch. It helps ensure clean cuts and prevents damage to your workspace.
Ruler, rotary cutter, and art knife:
I used a rotary cutter because the leather was thick, and cutting multiple times with an art knife could lead to uneven edges. The rotary cutter provided a cleaner, more consistent cut, especially for thicker materials like leather.
Binder ring (15mm or 20mm):
You can choose any size ring based on your needs. For this project, I used 15mm rings to keep the setup compact, but I left enough space in the design to accommodate 20mm rings if I need to switch later.
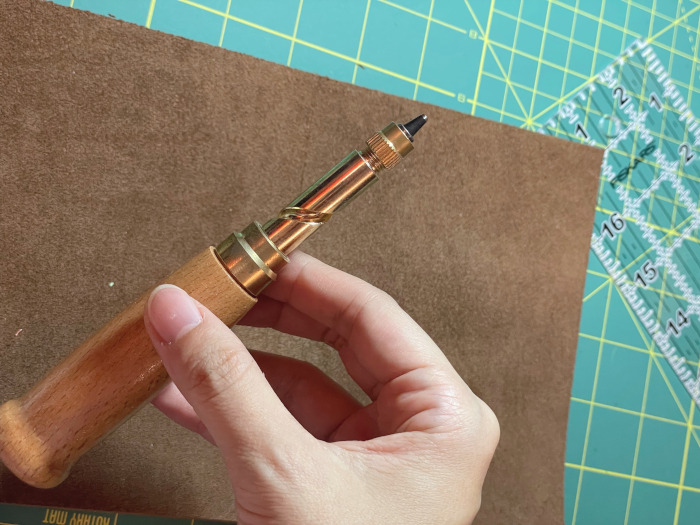
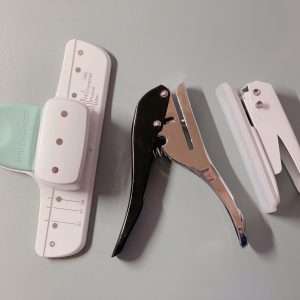
Awl needle tool:
I used the awl to mark precise measurements on the leather before cutting and punching. It’s especially useful for making small indentations where the hole punch will go, ensuring accuracy and preventing the tool from slipping.
Leather hole punch (2.5mm):
I used a 2.5mm leather hole punch to create clean, precise holes for the binder rings. The punch size was ideal for ensuring the rings fit snugly without damaging the leather, and it made the process smoother and more accurate than using a standard hole punch.
Burnishing tools (optional):
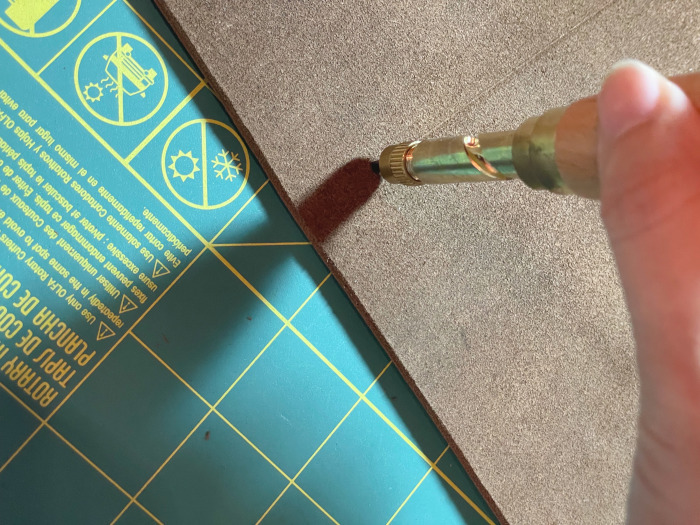
I used Seiwa Tokonole Leather Finish Burnishing Clear with a bone folder for a smooth finish.I chose Seiwa because it’s water-based and easy to work with, providing a polished, professional look without darkening the leather. It’s known for creating a smooth edge, especially when used with a bone folder, making the finish feel more refined and durable.
Sanding tool (optional):
I used 1200-grit sandpaper to smooth the edges after cutting. While using 1200 grit isn’t required, it’s recommended to finish with higher grit sandpaper to get a cleaner, smoother edge. It helps remove any roughness and prepares the leather for burnishing.
Clear file (optional):
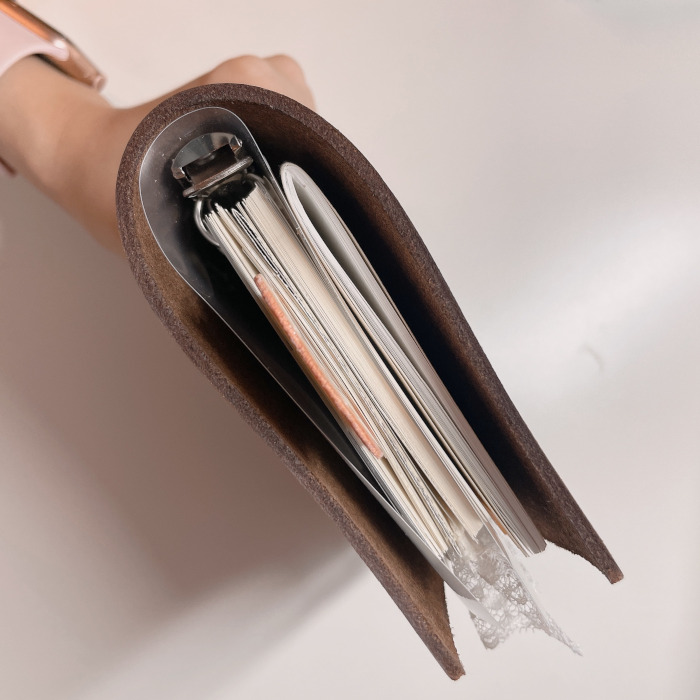
I cut a clear file slightly smaller than the leather cover and placed it between the ring and the cover to protect the leather from ring marks.
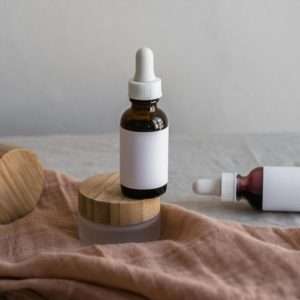
Leather conditioner (optional):
Mink oil balm to shine the leather and erase minor scratches. For more tips on leather care, check out my post on Traveler’s Notebook Care: Tips and Leather Conditioning Guide.
Steps to Make the Binder
1. Measure the Leather:
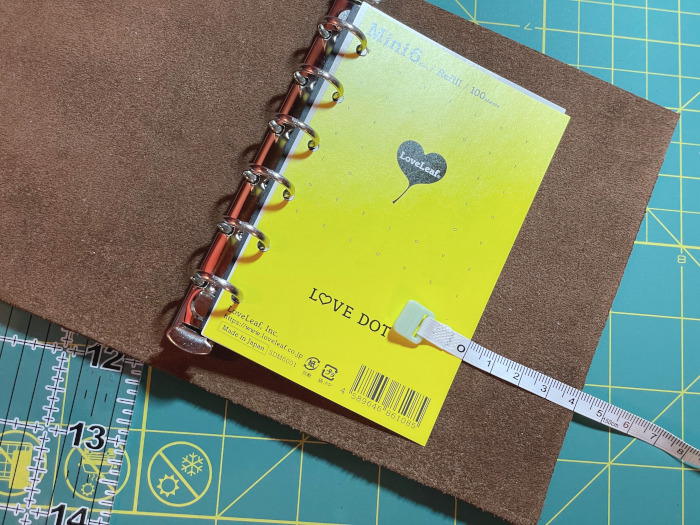
I started by placing the binder ring with a few inserts in the center of the leather sheet. To determine the width, I flipped all the inserts to the right and measured about 4cm from the last insert to the edge of the leather. I repeated this on the left side. For the height, I added 2cm to the space between the last ring and the edge of the leather to make sure the binder had enough room to fit well.
2. Mark the Size:
The overall dimensions came to 25cm x 14.5cm (9.84 x 5.71 in), which provides some wiggle room in case I switch to a 20mm ring later on. I used my awl needle tool to mark the outline of the cuts.
3. Cut the Leather:
Using a rotary cutter, I carefully cut the leather along the marks on my cutting mat. In areas where the rotary cutter didn’t cut cleanly, I used an art knife to make the final adjustments. The rotary cutter worked smoothly for most of the cutting process.
4. Round the Corners (Optional):
I prefer rounded corners for a more finished look, so I carefully cut small pieces off the corners using the art knife. There are special leather corner cutters available, but I managed fine without one.
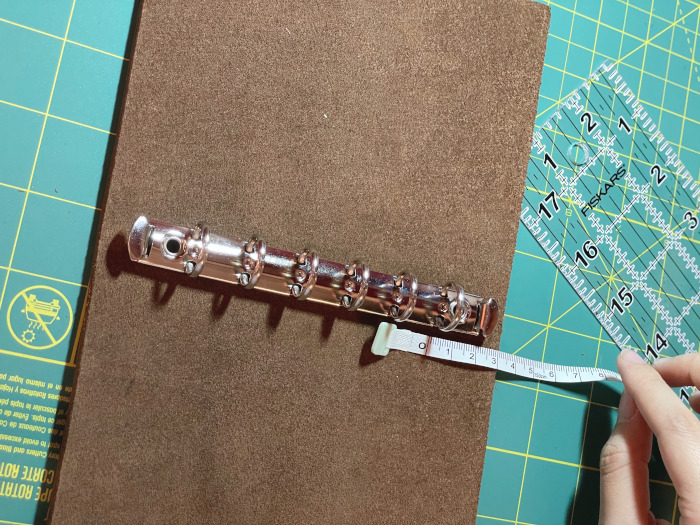
5. Punch the Holes:
Next, I marked where the binder rings would attach and used a 2.5mm leather hole punch to create the holes for the rings. The cutting mat came in handy here too, as it provided a stable surface that protected my work area.
6. Add a Protective Layer (Optional):
To prevent ring marks on the leather cover, I cut a clear file to be slightly smaller than the leather cover and placed it between the ring and the leather. This step is totally optional but adds a layer of protection.
7. Sand the Edges (Optional):
After cutting, some edges were a bit rough, so I gently sanded them using 1200-grit sandpaper. This step helps create a smooth, professional finish.
8. Burnish the Edges (Optional):
To further polish the edges, I applied Seiwa Tokonole Leather Finish Burnishing Clear with a bone folder. This step isn’t necessary, but it gives the binder a nice, smooth finish.
9. Condition the Leather (Optional):
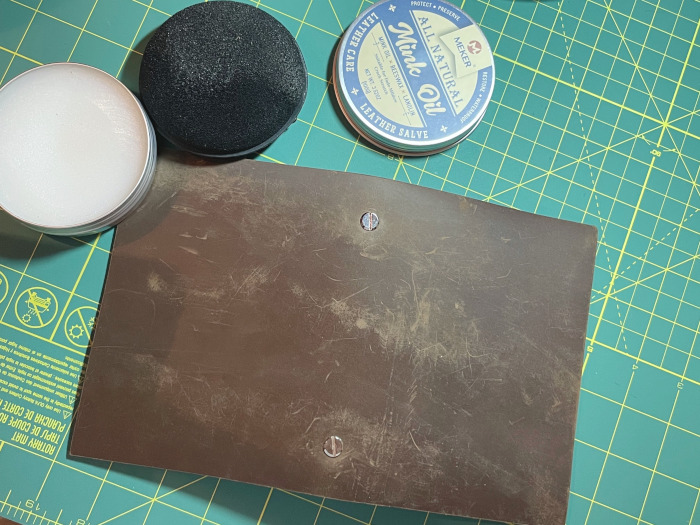
My leather sheet had a few minor scratches from handling, so I finished the binder by applying mink oil balm to condition the leather and make it shine.
Final Thoughts
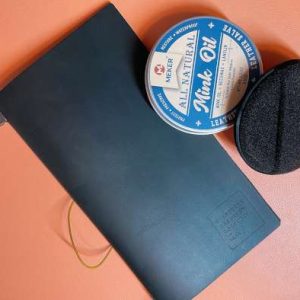
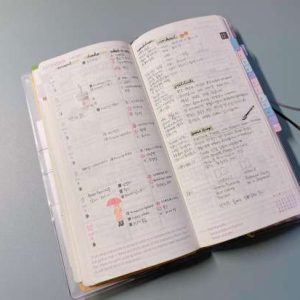
This DIY A7 ring binder was a rewarding project, giving me the freedom to create exactly what I needed—no bulk, no unnecessary features, and plenty of room for customization. The elastic band closure adds convenience, and the compact design fits seamlessly into my 2025 planner setup. I can’t wait to see how this binder evolves throughout the year and how the leather develops its character over time.
If you’re looking for a simple and customizable A7 ring binder project with no sewing required, this is a perfect place to start. Not only will you create a binder that’s tailored to your needs, but you’ll also enjoy the satisfaction of crafting something unique!
✂️ Must-Try Stationery DIY Projects
- System Techo vs. Bullet Journal: My 2025 Productivity Planner
- DIY Washi Tape Binder with Travelers Notebook
- Sew a Notebook Cover: DIY Project for Midori MD Diary
- Traveler’s Notebook Care: Tips and Leather Conditioning Guide
- Traveler’s Notebook Accessories: Multi-Color Braiding DIY
✂️ Explore More Stationery DIYs
Looking for creative ways to personalize your stationery? Dive into all my Stationery DIY projects for step-by-step tutorials, unique ideas, and inspiration to elevate your journaling and crafting experience!
🖊️ Popular Stationery Reviews
- Best Hole Punch for Ring Binders: What Worked & What Didn’t
- Uni-ball One P Review + Uni-ball One Fica Color Set
- Sew a Notebook Cover: DIY Project for Midori MD Diary
- Traveler’s Notebook Care: Tips and Leather Conditioning Guide
- Craft Organization Ideas: Simple Storage Solutions for Supplies
- Hobonichi Weeks Mega Review: Is It Worth The Type?
🖊️ Explore More Stationery Reviews
Looking for the best stationery to enhance your journaling experience? Check out all my Stationery Reviews for detailed insights, product recommendations, and tips to help you choose the perfect tools for your creative projects!
Explore More in Creative Endeavors

Latest Updates:


Featured Videos:


