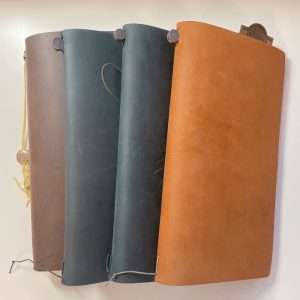
Free Notion Reading Tracker Template to Organize Your Books
I used to jot down books in a notebook or leave half-finished lists in random apps—but it never quite worked. That changed when I built my own Notion reading tracker. It helped me finally stay consistent, see my reading patterns, and actually finish what I started. Whether you’re aiming to read more this year, explore new genres, or just want a tidy log of your reads, Notion can adapt to your needs. To make it even easier, I’m sharing the exact template I use—you can download it and start right away.
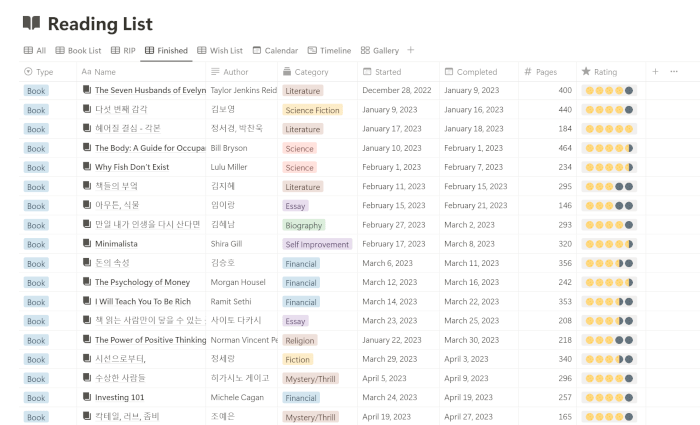
In this post, I’ll guide you through a detailed, step-by-step process to create your own Notion reading tracker with all the essential properties to help you stay on top of your reading. As a bonus, I’ve included a free Notion reading tracker template that you can download to get started immediately.
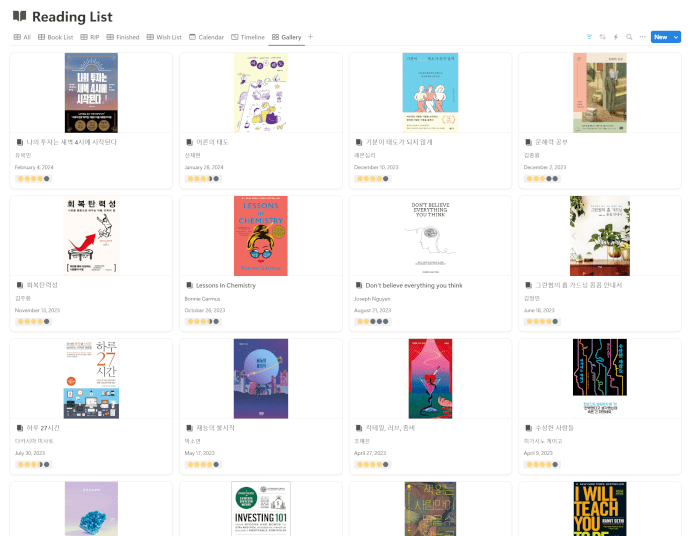
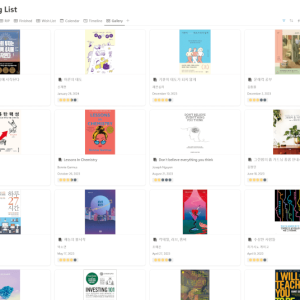
Make sure to stay tuned for Part 2, where I’ll show you how to add different views, such as Timeline and Gallery, to make tracking your books even easier and more visual.
Why Use a Notion Reading Tracker?
If you’re an avid reader, you’ve probably tried various methods to keep track of books—whether it’s a paper list, an app, or even a Goodreads account. But what sets Notion apart is its ability to fully customize your reading experience to fit your exact needs. With a reading tracker in Notion, you’re not limited to just a static list. You can create a dynamic, visual, and flexible system that grows with your reading habits.
With a reading tracker, you can:
- Organize your books by categories and genres.
- Track which books you’re currently reading, finished, or plan to start.
- Set reading goals and monitor your progress over time.
- Reflect on your reading habits with custom fields like rating and completion date.
This flexibility makes Notion an ideal tool for readers who want more control over how they manage their book lists and reading logs.
Step 1: Creating the Database
To begin, you’ll need to create a new database in Notion that will serve as the foundation for your reading tracker. This database will hold all the information about your books, such as title, author, genre, and more.
1. Create a new page in Notion by clicking the New Page button in the sidebar.
2. Name the page something like Reading Tracker or Book Journal.
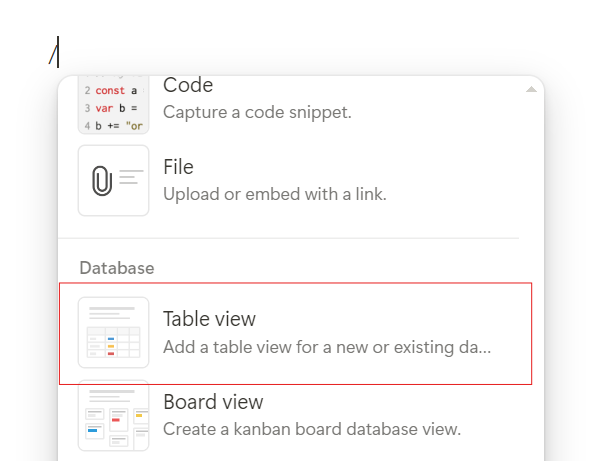
3. In the page content area, choose the Table option to create a new database. This will be the layout for your reading tracker, and it will allow you to add properties like text, dates, and select options.
4. Now you’re ready to start adding properties for each book!
Step 2: Adding the Book Title
Now that your database is created, the first column will automatically be set to the Title property, which will serve as the primary field for all of your book entries.
1. In the first column, which is the default Title property, rename it to Book Title by clicking on the column header.
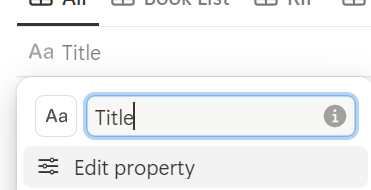
2. This is where you’ll input the name of each book. Each entry in this column represents a new book in your tracker.
Tip: If you have a long reading list, you can use Notion’s search feature to quickly find books by title.
Step 3: Adding the Author
Next, let’s keep track of the author for each book you read.
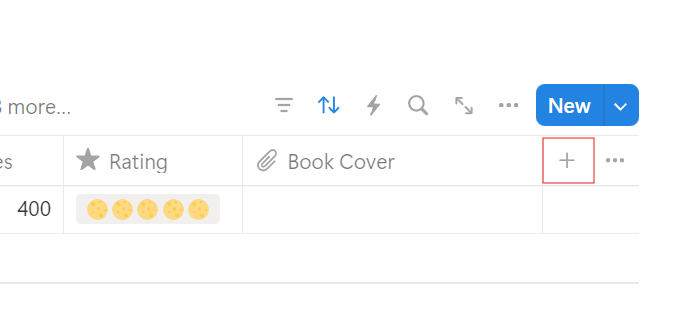
1. Click + at the top of the database to add a new property.
2. Set the property type to Text.
3. Name the property Author.
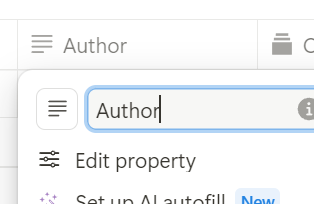
4. For each book, enter the author’s name in this column.
Tip: I find this especially useful when I go through phases—like reading three Haruki Murakami books in a row. Sorting by author helps me see patterns and track which authors I tend to revisit.
Step 4: Adding the Category (Genre)
To keep your reading organized, it’s a good idea to classify books by genre or category.
1. Add a new column by clicking +.
2. Set the property type to Select.
3. Name the property Category or Genre.
4. Begin adding genre options like Fiction, Non-Fiction, Fantasy, Mystery, Science, etc.
- Click New Option to add each genre. You can always add more genres later as needed.
Tip: Use the Select property for genres so you can filter or sort books by their genre easily.
Step 5: Adding the Status (Reading Progress)
Tracking the status of each book—whether you’re planning to read it, currently reading it, or finished it—is key to staying organized. Here’s how to set that up:
1. Click + to add a new column.
2. Set the property type to Status.
3. Name the property Status.
4. The Status property comes with predefined labels like To Do, In Progress, and Completed, but you can customize them to match your reading progress. Add or modify the following options:
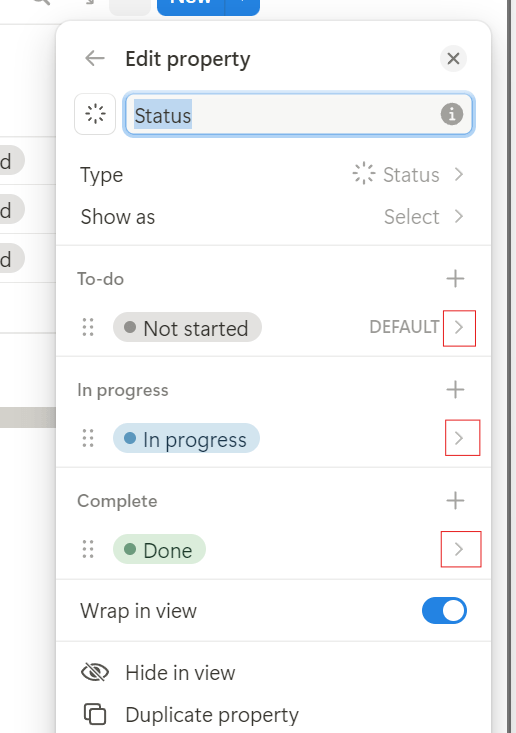
- Wish: For books you plan to read but don’t yet own.
- To Start: For books you have in your collection but haven’t started.
- Reading in Progress (RIP): For books you are currently reading.
- Done: For books you’ve finished reading.
Tip: Sorting by status allows you to easily see what’s next on your reading list. This helps me separate what’s a real backlog versus just a future interest.
Step 6: Adding Start Date and Completion Date
To monitor when you begin and finish books, you’ll want to add Start Date and Completion Date properties.
1. Click + to add a new column.
2. Set the property type to Date.
3. Name the first column Start Date and the second column Completion Date.
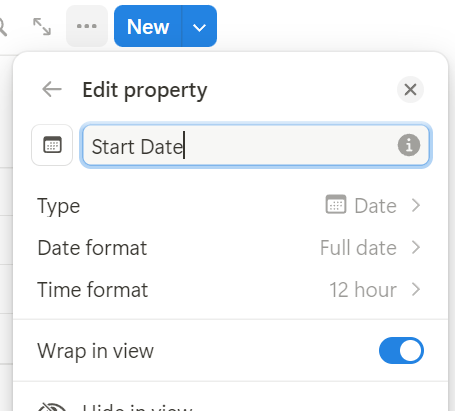
4. For each book, you’ll input the date when you started and finished reading.
Tip: These date properties can help you track how long it takes you to finish a book, which is useful if you’re setting reading goals.
Step 7: Adding a Rating System
Rating books after you finish them is a fun way to reflect on your reading experience. Here’s how to create a rating system:
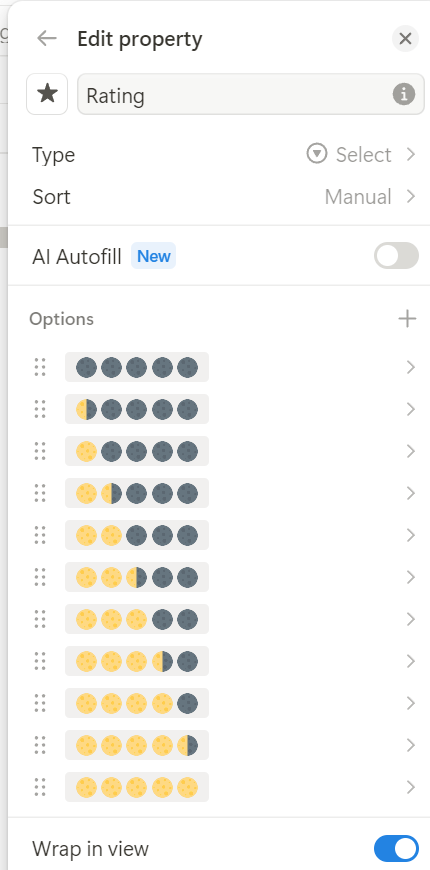
1. Click + to add a new column.
2. Set the property type to Select.
3. Name it Rating.
4. Add the following options for a 5-star rating system:
- 🌕🌑🌑🌑🌑 (1 star)
- 🌕🌗🌑🌑🌑 (1.5 stars)
- 🌕🌕🌑🌑🌑 (2 stars)
- 🌕🌕🌗🌑🌑 (2.5 stars)
- 🌕🌕🌕🌑🌑 (3 stars)
- 🌕🌕🌕🌗🌑 (3.5 stars)
- 🌕🌕🌕🌕🌑 (4 stars)
- 🌕🌕🌕🌕🌗 (4.5 stars)
- 🌕🌕🌕🌕🌕 (5 stars)
Tip: I like using moon symbols instead of numbers—it’s a small visual touch, but it makes rating books more fun and less rigid.
Step 8: Adding the Book Cover
To make your reading tracker visually appealing, you can add book cover images for each book.
1. Add a new column by clicking +.
2. Set the property type to Files & Media.
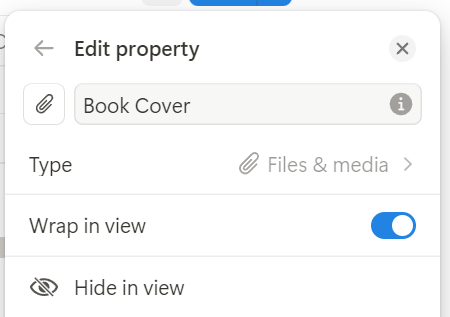
3. Name it Book Cover.
4. For each book, upload an image of the cover. You can find book covers on sites like Goodreads or Google Images.
Tip: Adding book covers will come in handy when you switch to Gallery View, which I’ll explain in Part 2.
Optional Step: Adding Notes or Quotes
If you like to take notes or save memorable quotes while reading, you can add a Notes property.
1. Click + to add a new column.
2. Set the property type to Text or Long Text.
3. Name it Notes.
4. Use this field to jot down your thoughts, reflections, or favorite quotes from each book.
Download My Free Notion Reading Tracker Template
To help you get started quickly, I’m offering a free Notion reading tracker template. Follow these steps to download and import it into your Notion workspace:
1. Click here to download the template (it will be in a ZIP file).
2. Extract the ZIP file to a folder on your computer.
3. Open Notion and go to the page where you’d like to import the tracker.
4. Click the three dots (•••) in the top-right corner of the page.
5. Select Import from the dropdown menu.
6. Choose HTML as the import format.
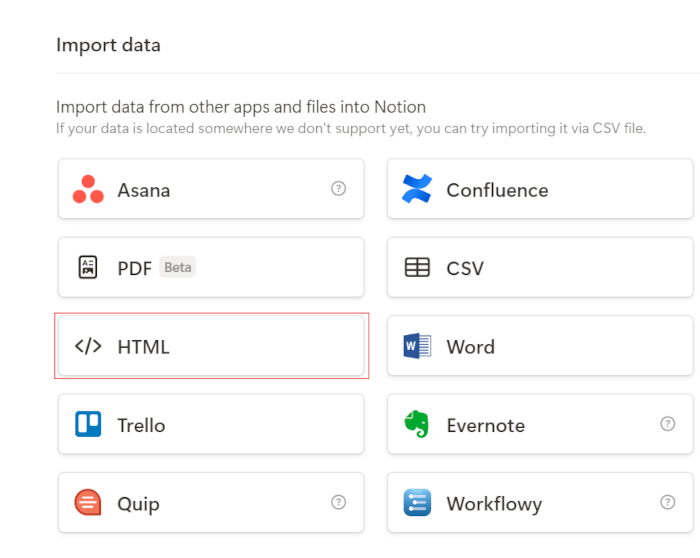
7. Locate the downloaded HTML file from the extracted folder and import it.
Once imported, you’ll see the reading tracker with all the properties we’ve set up. Feel free to customize, decorate, and modify it to fit your reading style! You can add more fields, change colors, or even insert more visuals like book covers to make it truly your own.
Start Your Notion Reading Tracker Today
Setting up this tracker helped me stop forgetting half-read books and gave me a better sense of what I really enjoy reading. With this guide, I hope you can set up your own tracker from scratch, and by using the free template, you can get started quickly. This personalized system will grow with your reading journey, giving you everything you need to stay organized and motivated. Be sure to check out Part 2, where I’ll show you how to enhance your tracker with Timeline and Gallery Views for easier and more visual tracking.
📝 Must-Try Journaling Ideas & Inspiration
- System Techo vs. Bullet Journal: My 2025 Productivity Planner
- My 2025 Journal lineup: System Techo & Midori Daily Journal
- Analog vs. Digital Journaling: Which One Suits Your Needs?
- Analog Journaling 101: Types, Benefits & Best Tips
📖 Explore More Journaling Tips & Techniques
Looking for new ways to enhance your journaling practice? Discover my journaling tips, creative prompts, and organization ideas to make the most of every page!

