Customize Traveler’s Notebooks: Multi-Color Braiding
Most Traveler’s Notebooks come equipped with a single band to secure your notebook in place. While there are connecting band kits available for holding 2 or 3 notebooks, I decided to try a little DIY experiment using the repair kit instead. Why? It offers more colors to play with, and I love to customize Traveler’s Notebooks to make them unique! Plus, this method lets me refresh my setup whenever I want without making permanent modifications.
I’ve always loved how Traveler’s Notebooks offer flexibility in personalization, but the standard bands can sometimes feel a bit plain. That’s why I wanted to explore a fun way to make my notebooks more visually appealing while keeping them functional. Through trial and error, I found that braided elastics not only look great but also provide better tension to hold multiple inserts securely. If you’re looking for an easy and creative way to add a unique touch to your setup, this is definitely worth trying!
Why Customize Your Traveler’s Notebook?
Customizing your Traveler’s Notebook allows you to make it feel more personal and suited to your style. Many people enjoy adding accessories, charms, or decorative covers, but changing up the bands can make a big difference, too.
Multi-colored braiding is a great way to:
- Add a pop of color to your setup
- Personalize your notebook without permanent changes
- Keep multiple inserts secure in a stylish way
- Enjoy a hands-on DIY project that’s simple yet effective
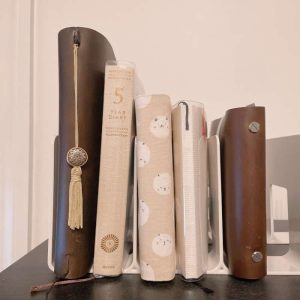
Here’s the final look!
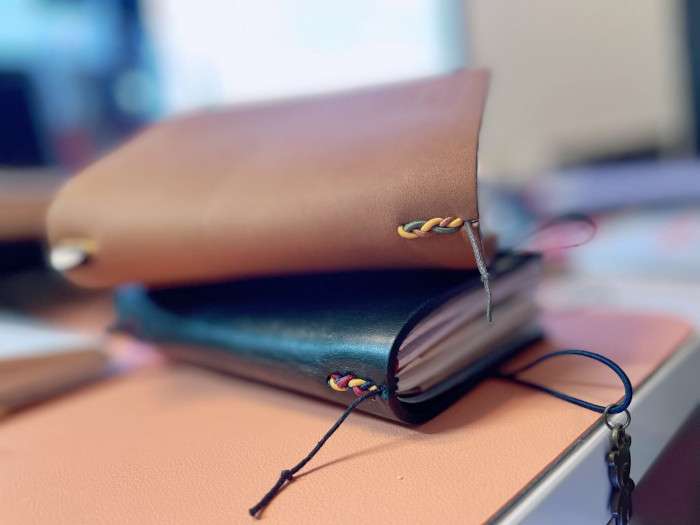
I’m thrilled with how it turned out, and I can’t wait to share the process with you. I’ve done this to all of my Traveler’s Notebooks (passport size), and I own three! I love this method because it requires very minimal materials but looks so polished once finished. If you’re interested in learning how to customize Traveler’s Notebooks with a splash of multi-color braiding, follow along for this step-by-step guide!
Before You Begin Customizing Your Traveler’s Notebook
Before diving into the process, it’s good to know what to expect and how to prepare. Customizing your Traveler’s Notebook can be a fun and rewarding experience, but a little planning goes a long way. Here are some key points to keep in mind before you start.
What to Expect:
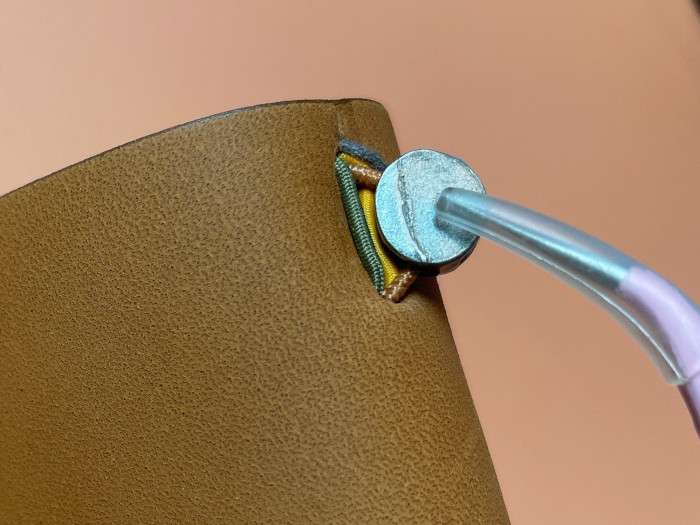
- No need to cut the center band or fuss with the metal closure—no hammer required, YAY!
- This method allows you to customize your notebook without major alterations.
- The bands can be removed or adjusted as needed, making this a non-permanent change.
Important Considerations:
- Adding extra knots inside may slightly affect writing comfort – They can create small bumps, so consider their placement carefully.
- If you often write in your Traveler’s Notebook, an extra insert or writing board can help create a smooth surface.
- Tweezers can scratch the leather cover, so be gentle while threading the bands to avoid damaging your notebook.
Materials

- Your trusty Traveler’s notebook
- 2 elastic bands in your preferred color
- A pair of tweezers (pointy ones work best!)
- Scissors for trimming
These materials are easy to find, and the repair kit offers a variety of colors to match your aesthetic.
Step-by-Step Guide to Braiding Your Traveler’s Notebook Bands
Prepare Your Notebook
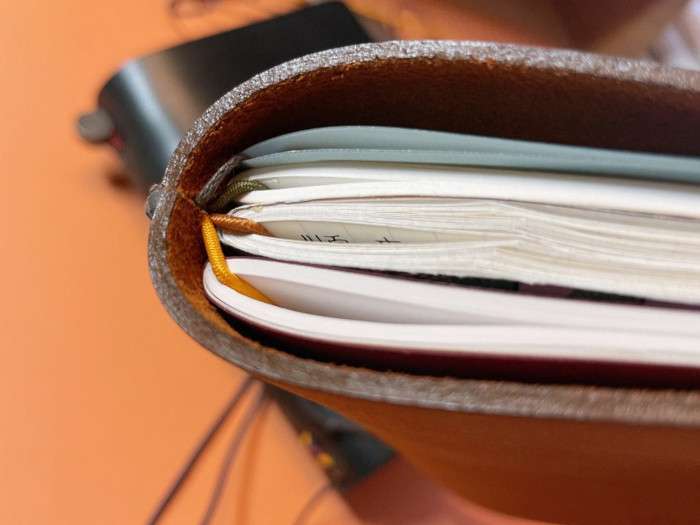
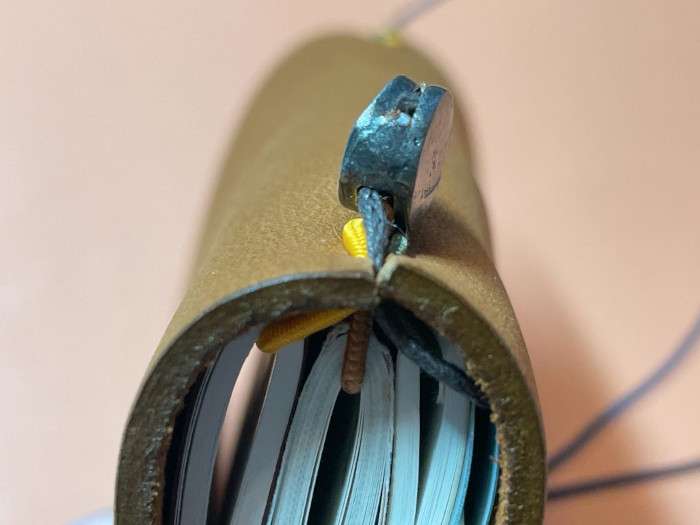
- Clear out all inserts from your notebook.
- Locate the four holes, numbered from the top: 1 through 4.
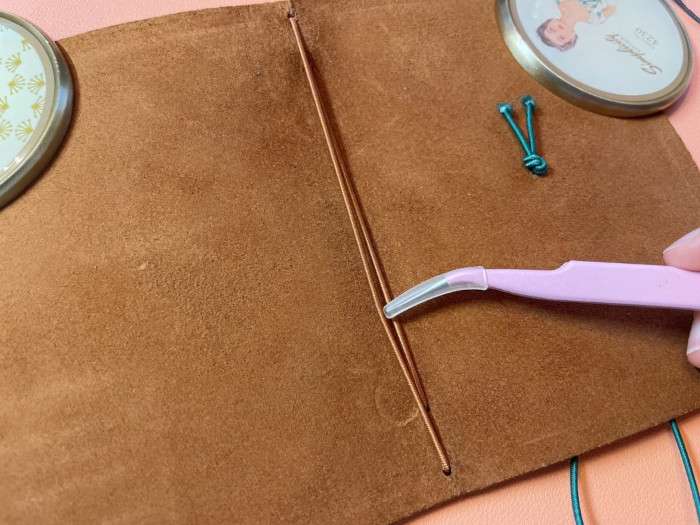
Threading the First Elastic Band
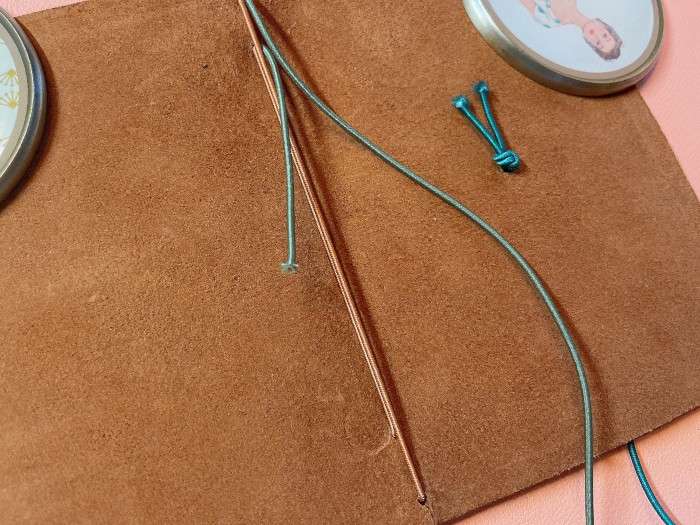
- Using tweezers, thread one end of the elastic band through hole 2 from the back. Enlarge the hole if necessary by wiggling the tweezers.
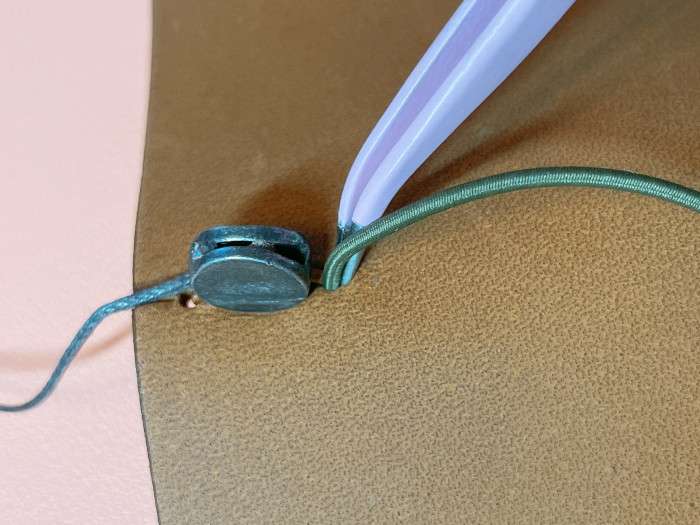
- Pull the elastic band slightly to create enough slack for tying a knot at the end.
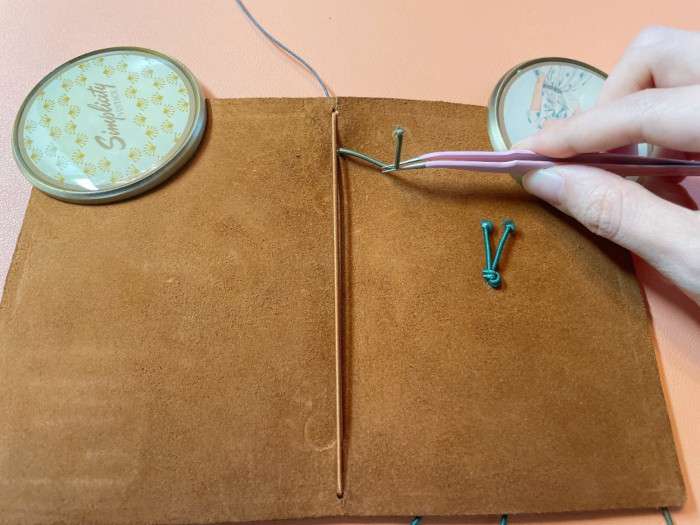
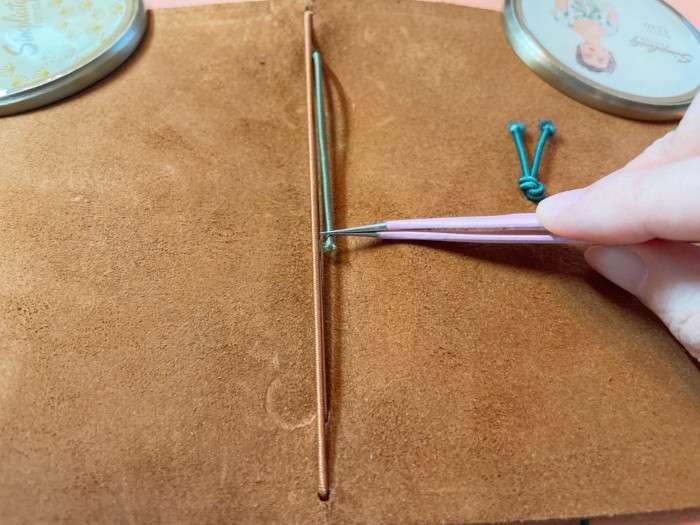
- Insert the other end of the elastic band through hole 1 from the back into the inside of the cover.
- Pull the elastic band all the way to hole 4 and insert it.6. Pull the elastic band all the way to hole 4 and insert it.

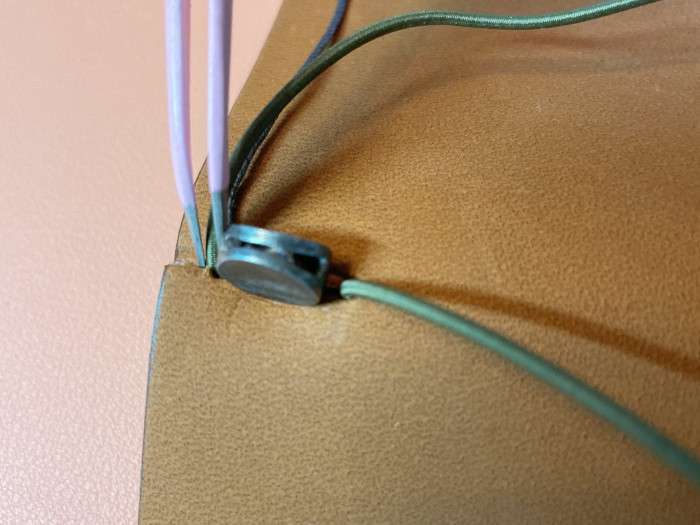
- Repeat the steps for the second elastic band, ensuring the original band stays in the middle.
- Once all bands are set, it’s time to braid!
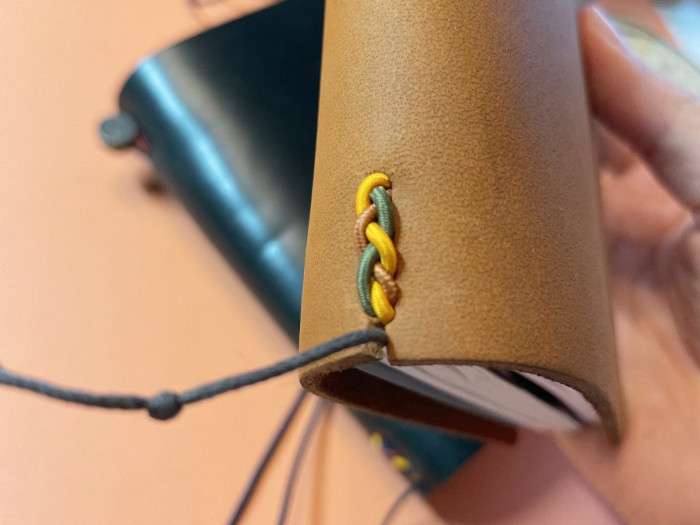
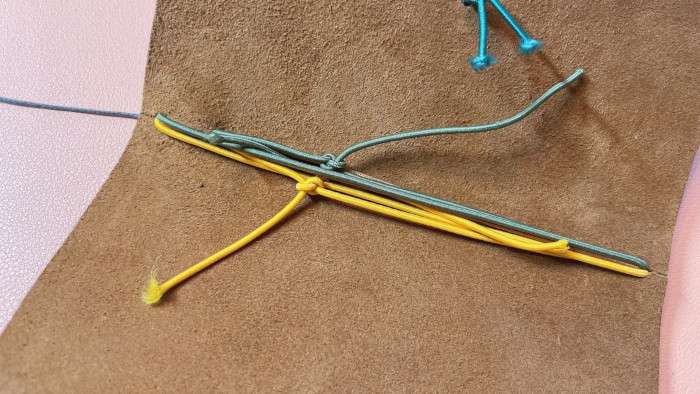
The Braiding Process
Follow the braiding sequence: the first elastic band (E1), center band (C), and then the second elastic band (E2):
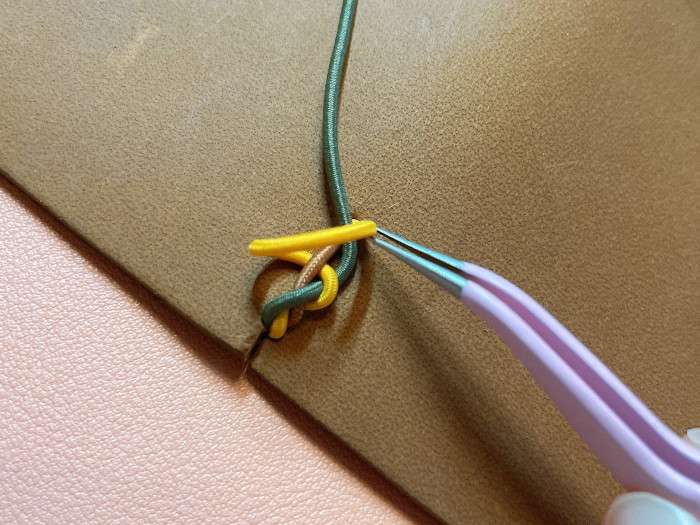

- Bring the second elastic (E2) under the center band (C) and move it to the left side.
- Cross the first elastic (E1) over the center band (C).
- Bring E2 over E1 and under C.
- Bring E1 over C.
- Bring E2 over E1 and C, inserting it into hole 3 (right side of C).
- Insert E1 into hole 3 (left side of C).
Once done, adjust the tightness of the bands to your preference. The tighter the bands, the more secure your inserts will be. Here are some tips to make it look neat!
- Take your time to make the braid exactly how you like it.
- If you make it too tight, the notebook might bend a little, so check frequently to ensure it maintains a good shape.
Securing the Knots
Tie secure knots and trim off any excess ends.
Final Thoughts and Customization Tips
Voila! Your Traveler’s Notebook is now organized and bursting with personality, thanks to these vibrant bands! Whether you’re a planner enthusiast or simply love adding a pop of color to your daily routines, this DIY project is sure to brighten your day. Experiment with different color combinations and braiding techniques to create a look that’s uniquely yours. Not only will it keep your notebooks secure, but it’ll also add a touch of fun and creativity to your planner setup.
Additional Customization Ideas:
- Experiment with different color combinations for seasonal themes or aesthetic preferences.
- Try a fishtail or twisted braid pattern for a different look.
- Use thicker or thinner elastics to change the feel of the bands.
- Attach a charm or bead to the end of the bands for extra flair.
Customizing your Traveler’s Notebook in this way makes it even more enjoyable to use. Each time you reach for it, you’ll feel a little extra spark of joy knowing it reflects your personal style.
Give it a try and let your creativity shine!
Explore More in Creative Endeavors
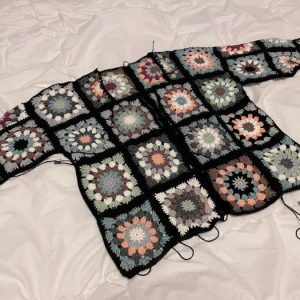
Modifying My Crochet Granny Square Cardigan for a Perfect Fit
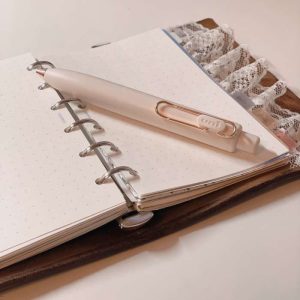
Uni-ball One P Review + Uni-ball One Fica Color Set
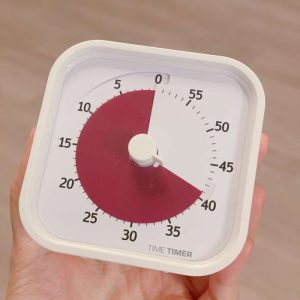
Pomodoro Timer: Techniques to Boost Productivity
My 2025 Journal lineup: System Techo & Midori Daily Journal
Knitting Supplies Storage: Compact Container for Crochet Tools

Benefits of Decluttering: How a Tidy Space Can Transform Your Life
My Granny Square Cardigan Journey: Stitch by Stitch
Craft Supply Storage Ideas: From Clutter to Efficient Organization
Featured Videos:


